Ever had your laptop screen die on you at the worst possible time? Yeah, same here. I had to Frankenstein my laptop with an HDMI cable just to get anything on screen. That’s when I discovered the magic of noVNC, turning your browser into a remote desktop window. With a bit of Node.js, nginx, and a VNC server like TightVNC, I had my Windows machine accessible from anywhere within my house (even my phone). Here's how I pulled it off, and how you can too;
Prequisites
Before we begin, download and install the following:
Setting Up Your Directory Structure
Create a directory where everything will live. For this example, we'll create a directory\folder on Desktop You can copy the CMD command below to create the directory:
mkdir %USERPROFILE%\Desktop\server%USERPROFILE% is an environmental variable for your user profile, I thought to use it throughout the tutorial to allow easy replicability. In my case %USERPROFILE% represents C:\Users\manas.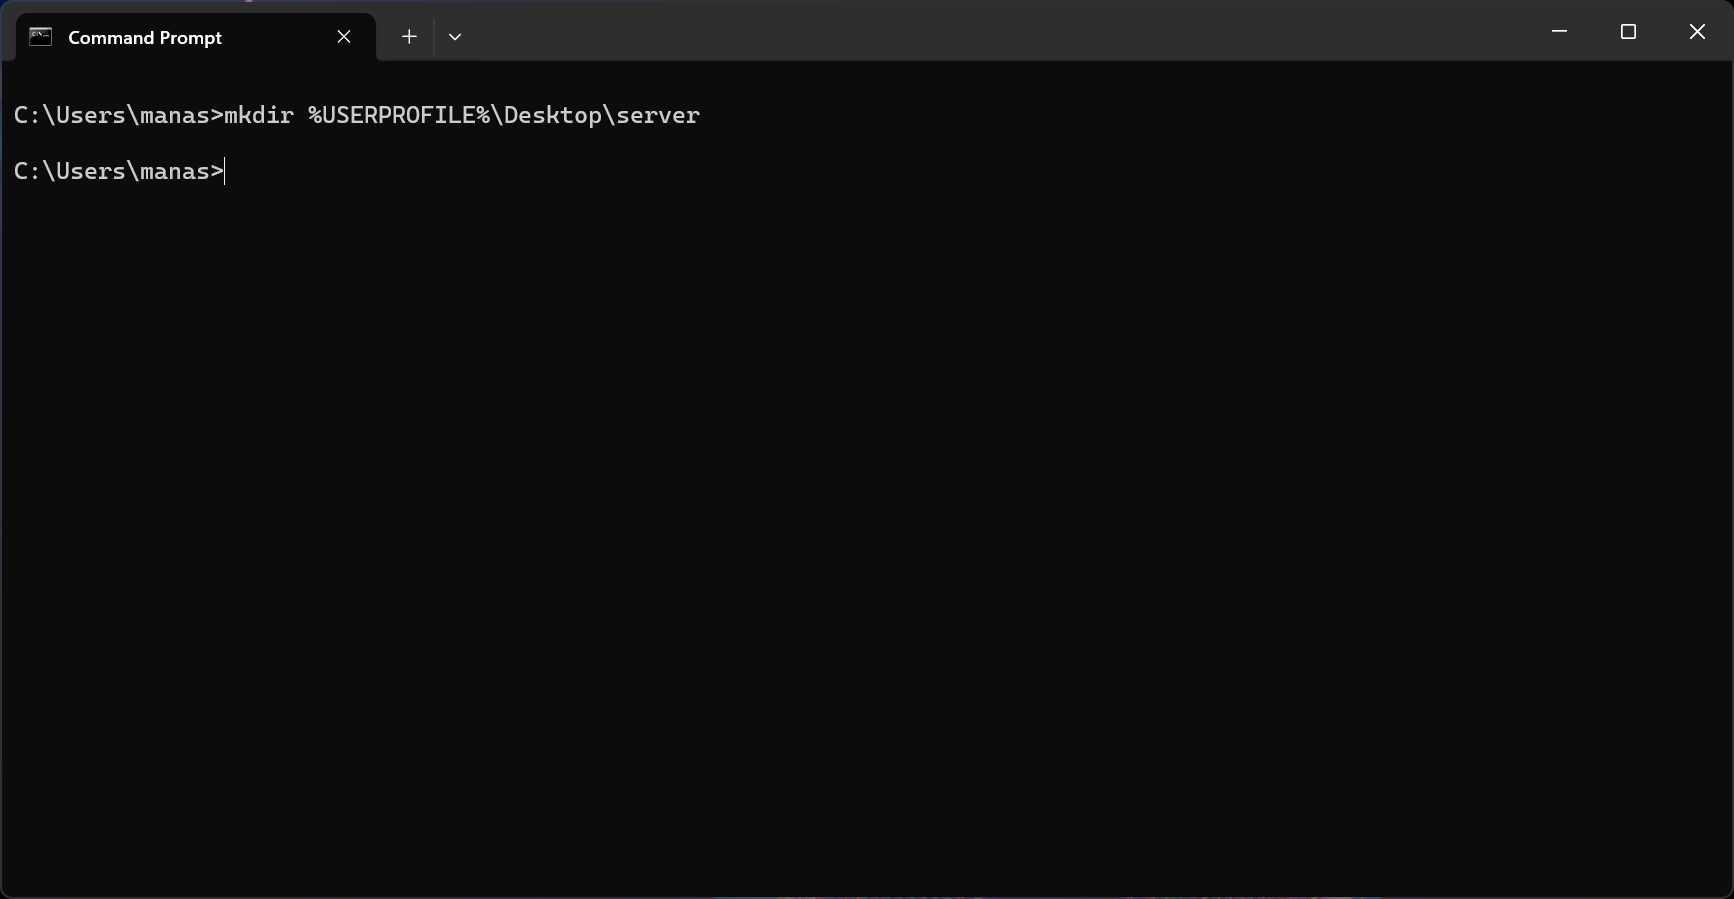
Installing Nginx
nginx ("engine x") is an HTTP web server, reverse proxy, content cache, load balancer, TCP/UDP proxy server, and mail proxy server.
We will be serving the noVNC website through Nginx.
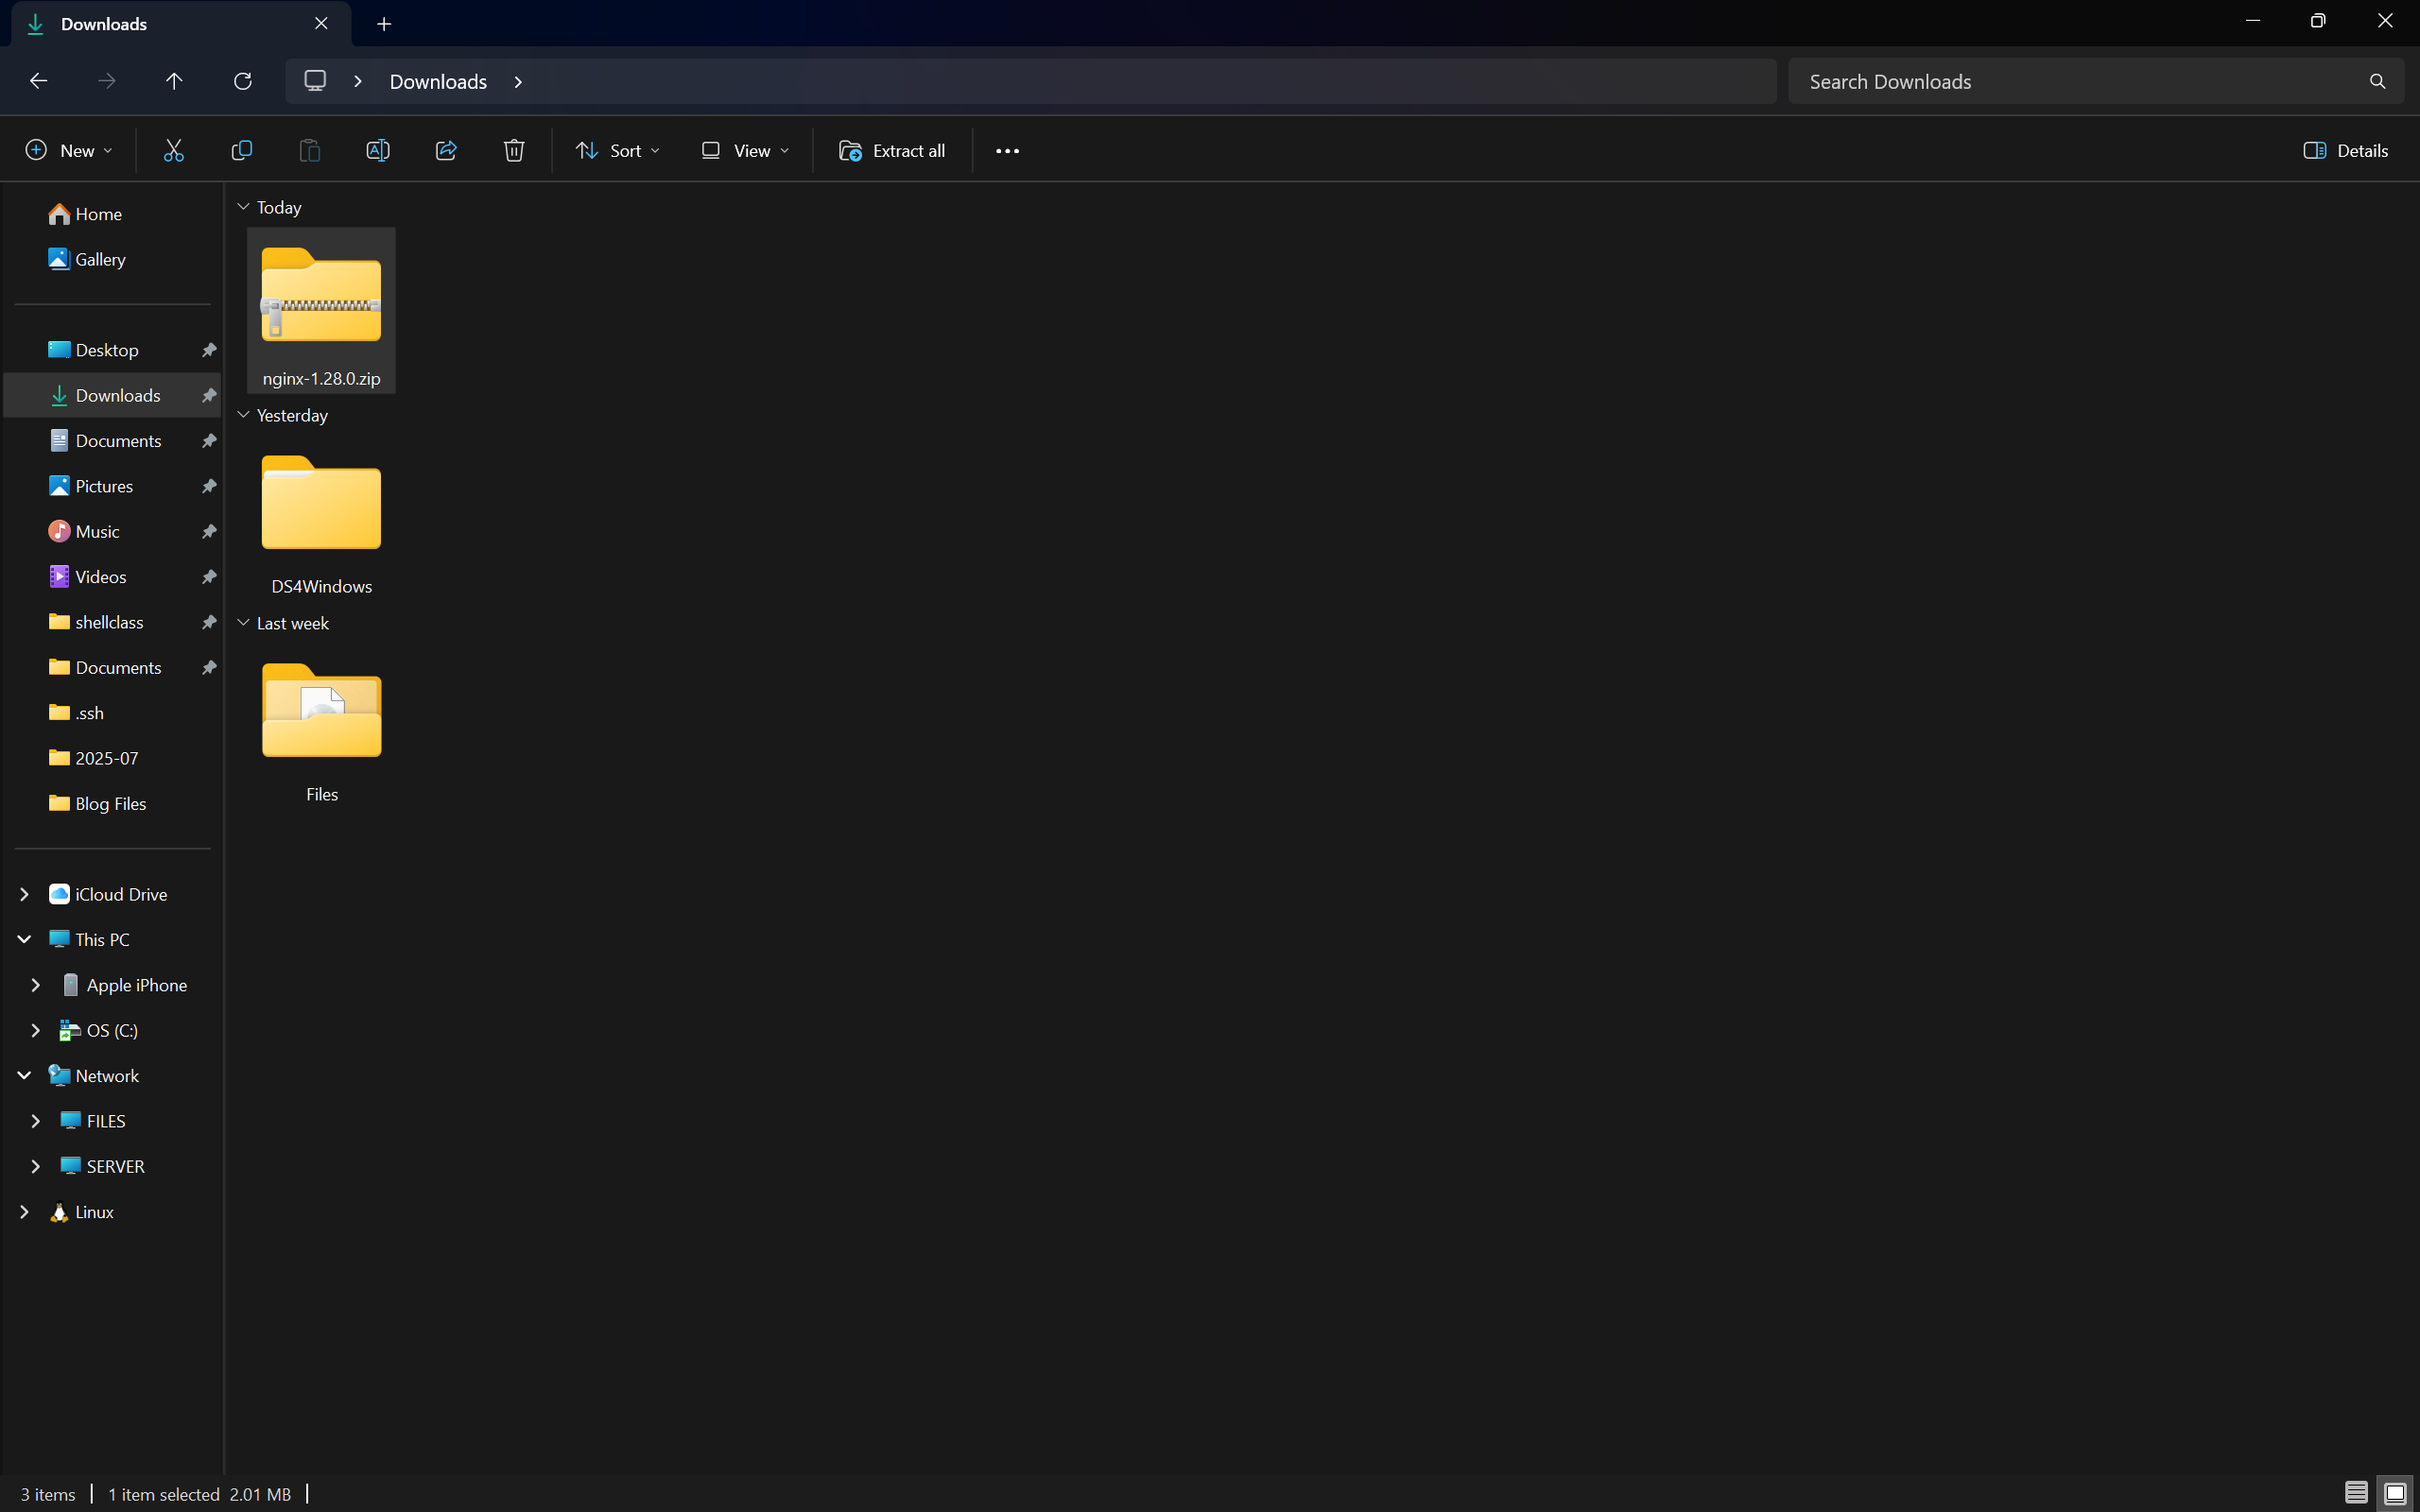
In this step, we download Nginx, make sure to download the stable version with nginx/Windows{version}.
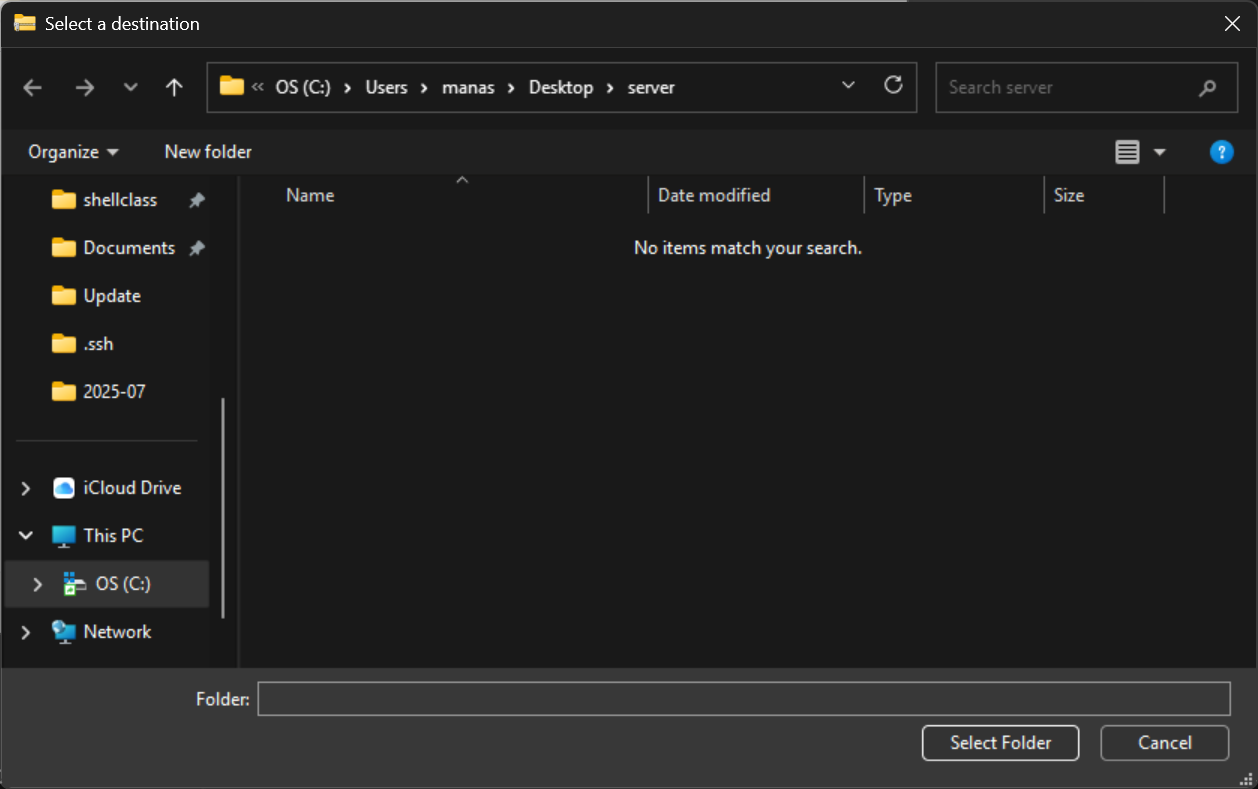
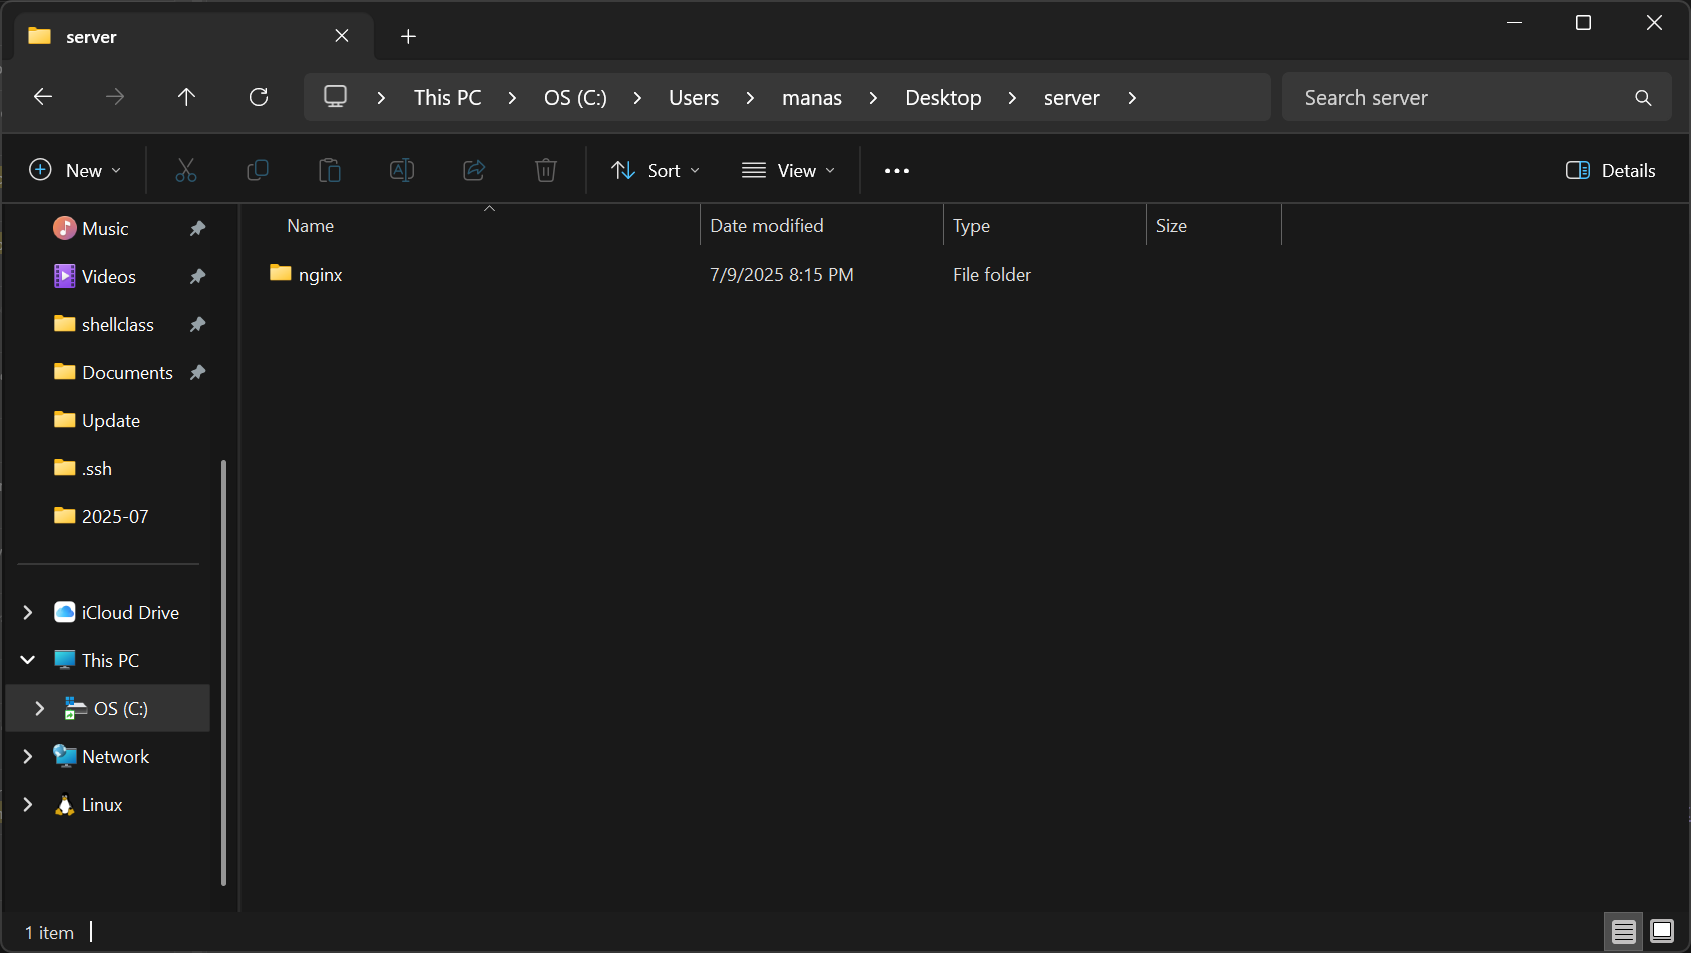
After downloading nginx, we would prefer to extract the Zip File into the server folder created earlier.
After successfully extracting the Nginx files to our server folder, I will rename the extracted folder to nginx to allow easy navigation.
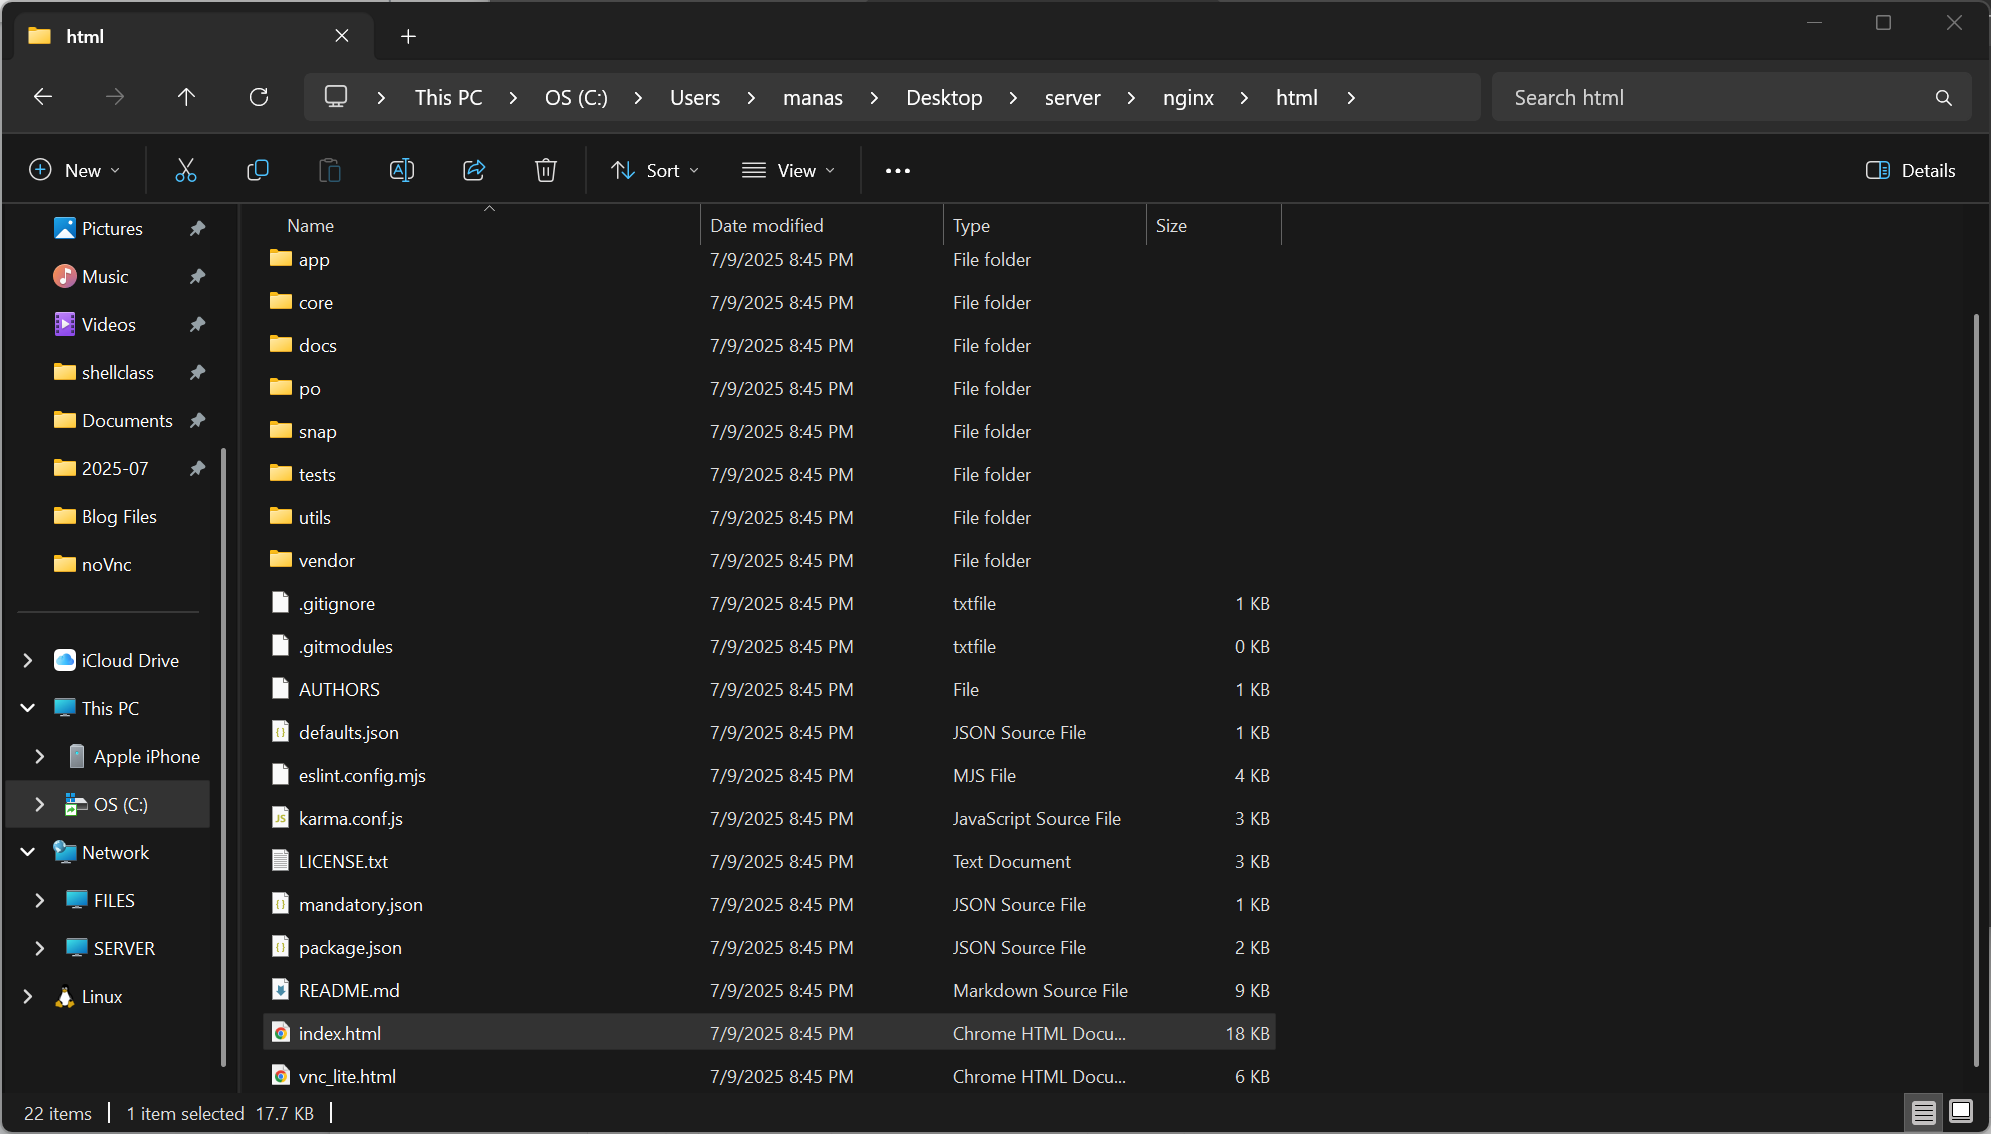
Next, we delete the HTML files within the html folder of Nginx.
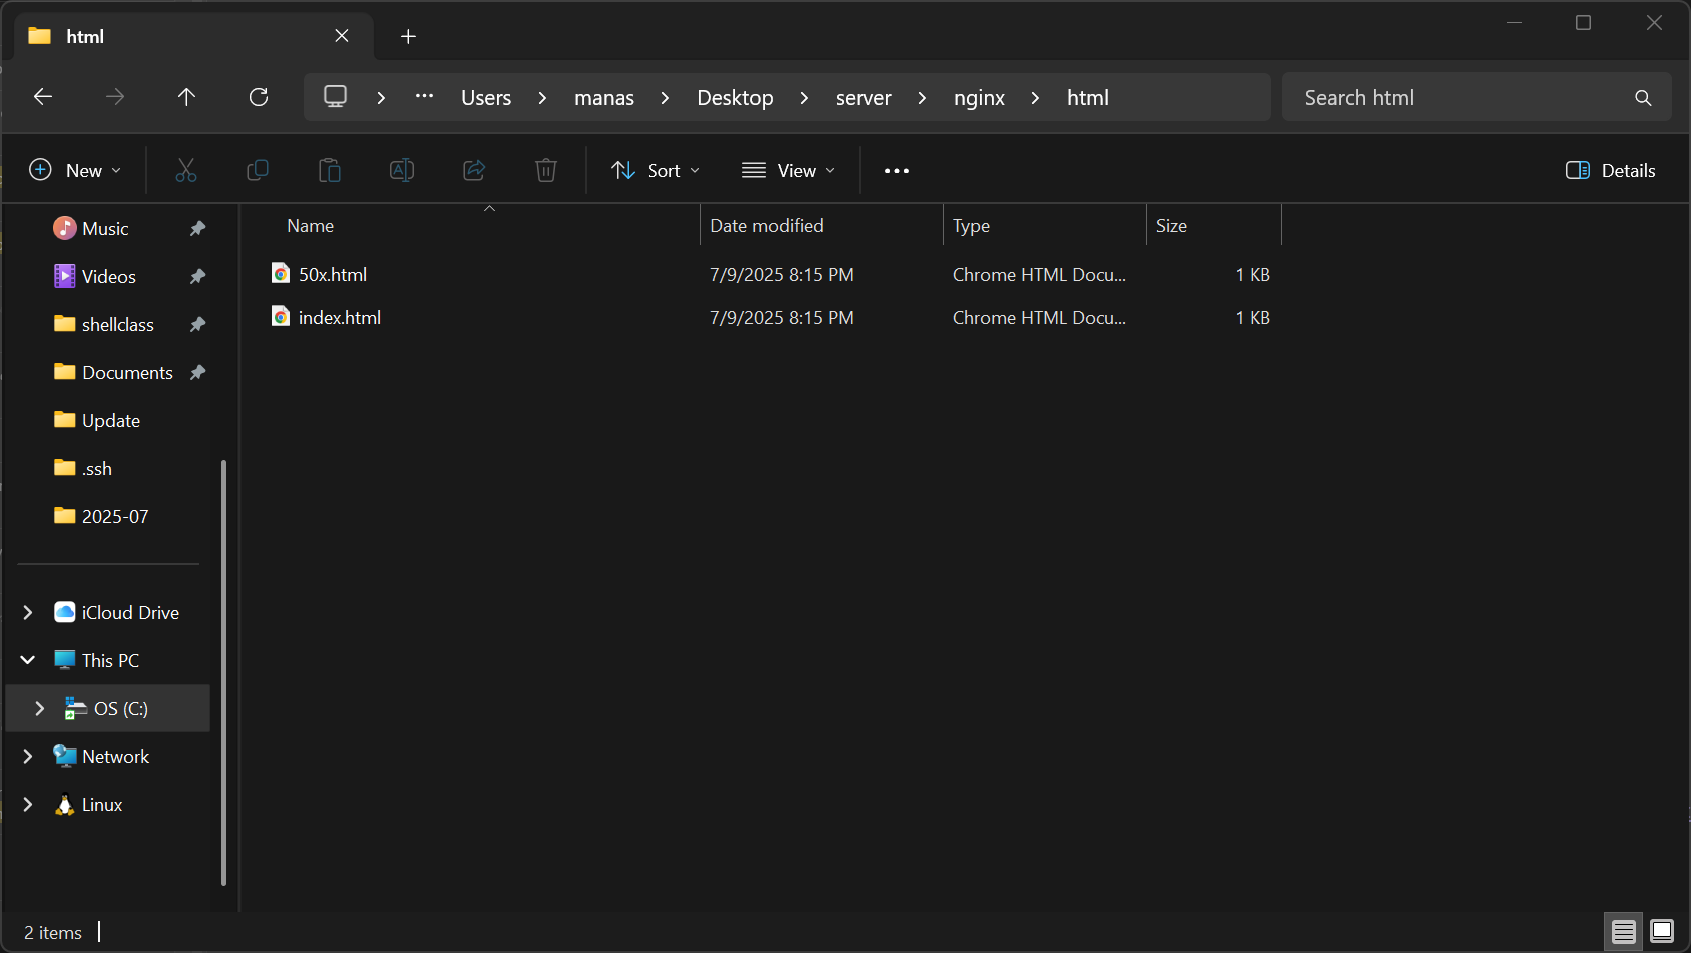
We have to do this because we will extract the noVNC files into this path to serve the website. We do this in the next step.
Downloading the noVNC files into the HTML Folder
We are going to be using Git clone in this step to clone the NoVNC repository for the noVNC configuration files, If you are not familiar with Github, you can learn how to run git clone from this YouTube video: https://www.youtube.com/watch?v=Av7lcVIbEBY
The repository we are cloning is https://github.com/novnc/noVNC
After opening Git Bash in our nginx/html folder, we execute the following command to download the files;
git clone https://github.com/novnc/noVNC
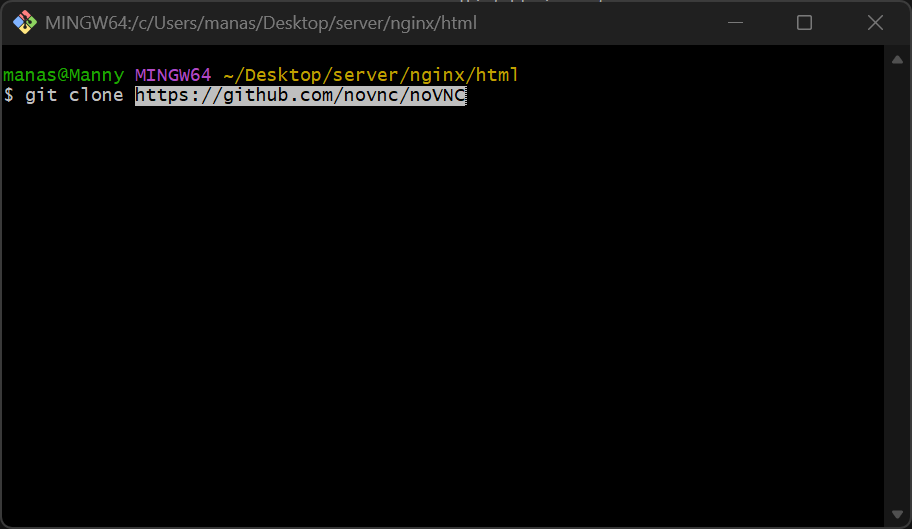
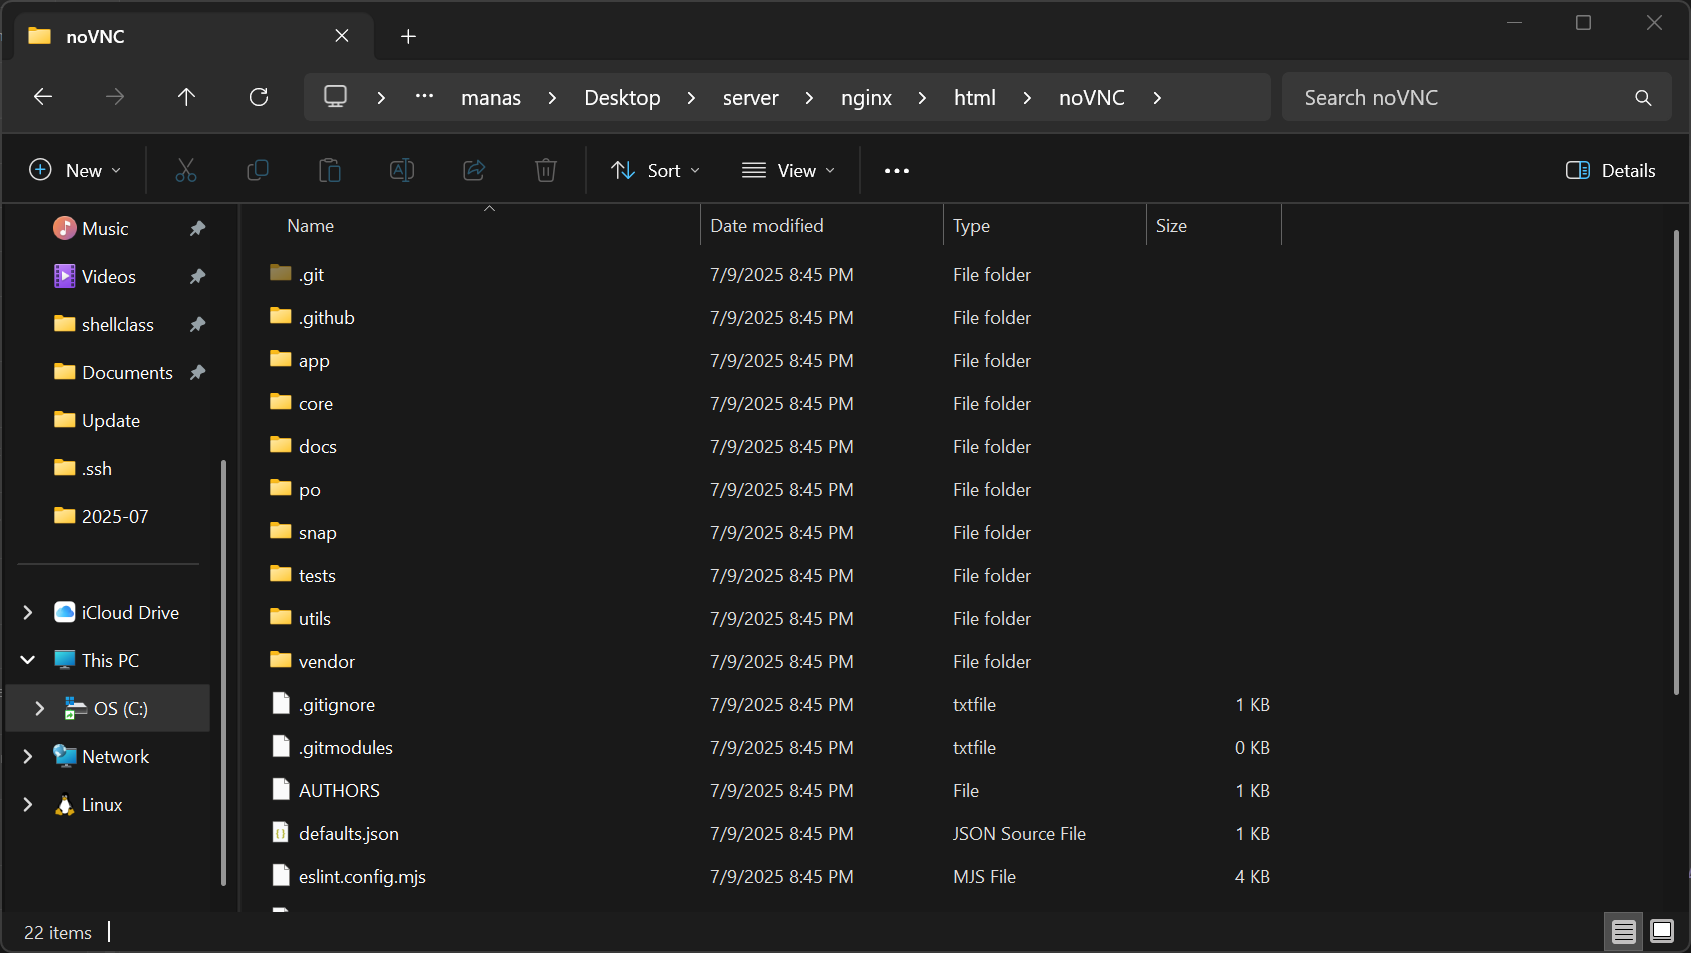
After running the above command, a folder will be created noVNC, a clone of the NoVNC Github Repository.
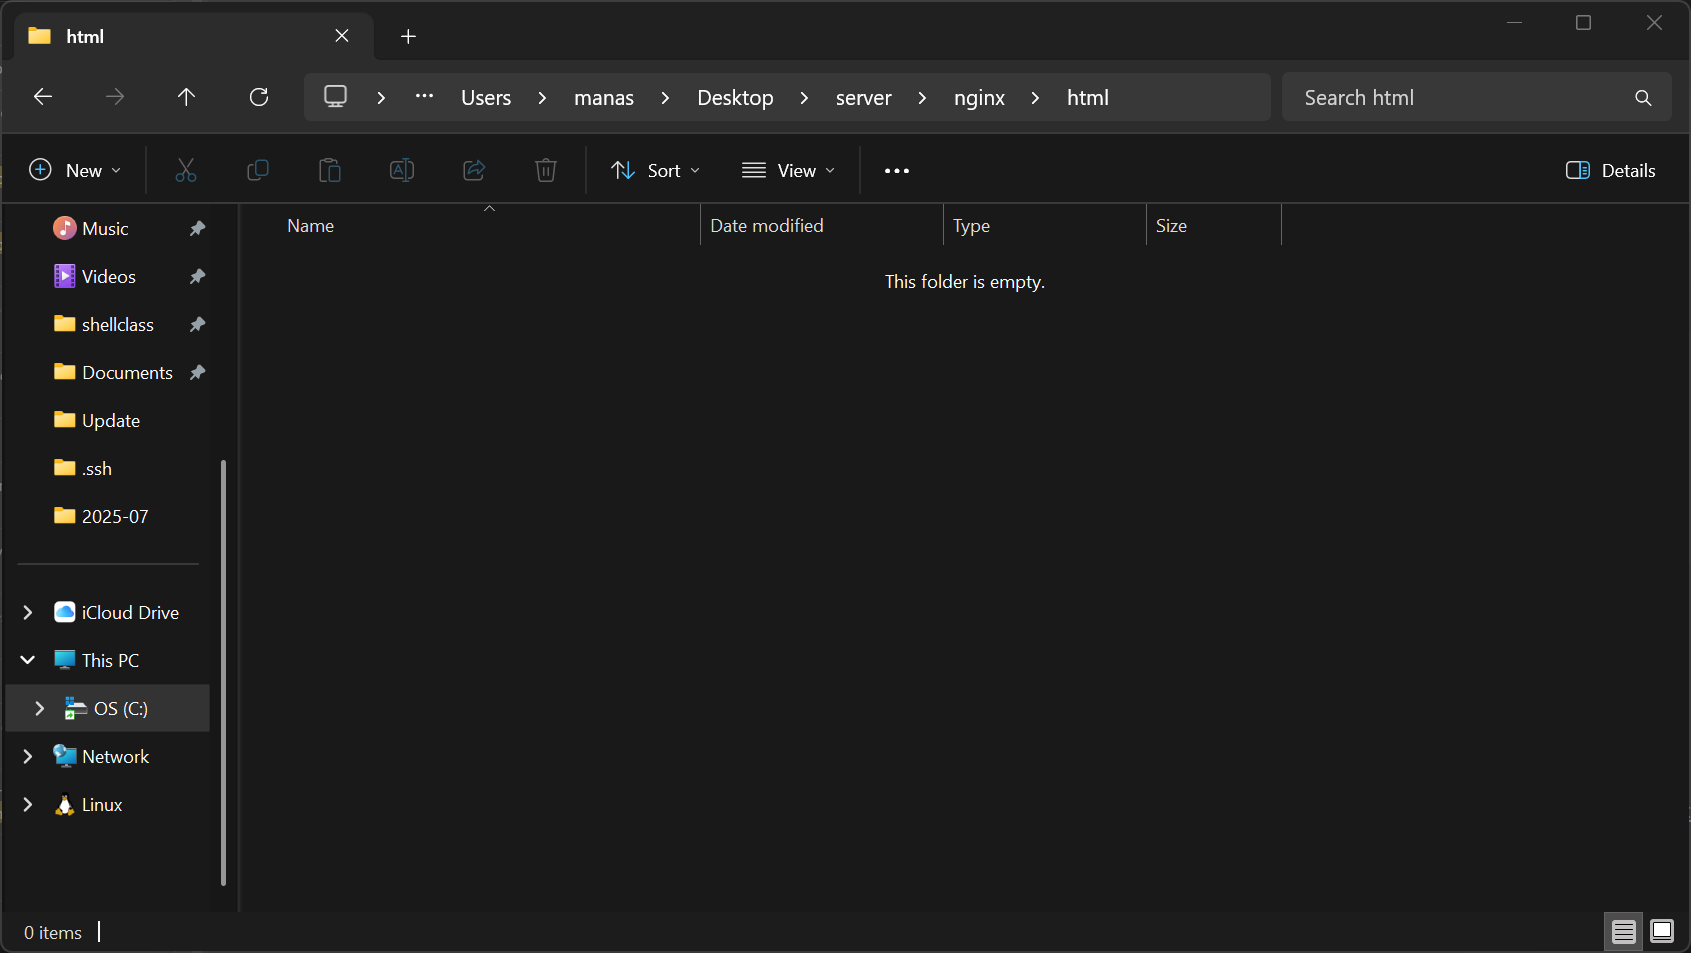
From here, we'd have to move the files from the noVNC folder into the HTML directory. The noVNC folder should be empty after this.
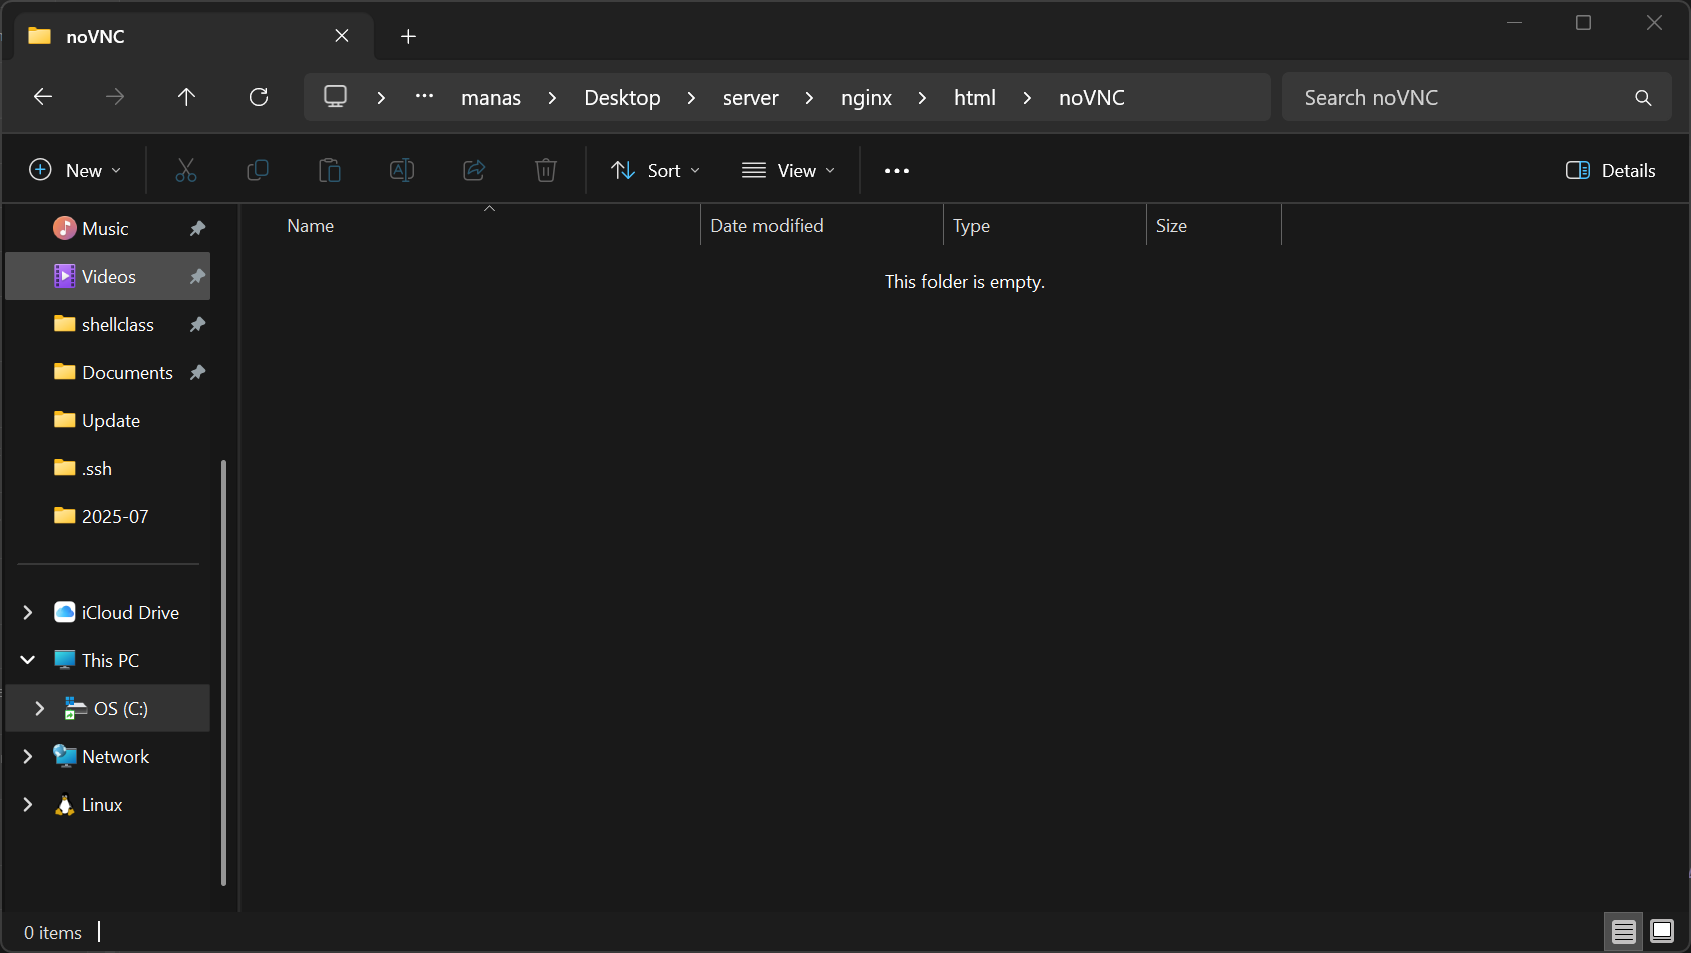
After this, we need to delete the noVNC folder, as it is no longer of use to us:
Installing Websockify
NoVNC uses WebSockify to communicate with your VNC server. To enable this on Windows, We would perform the following steps:
First, create a noVnc folder in the server folder.
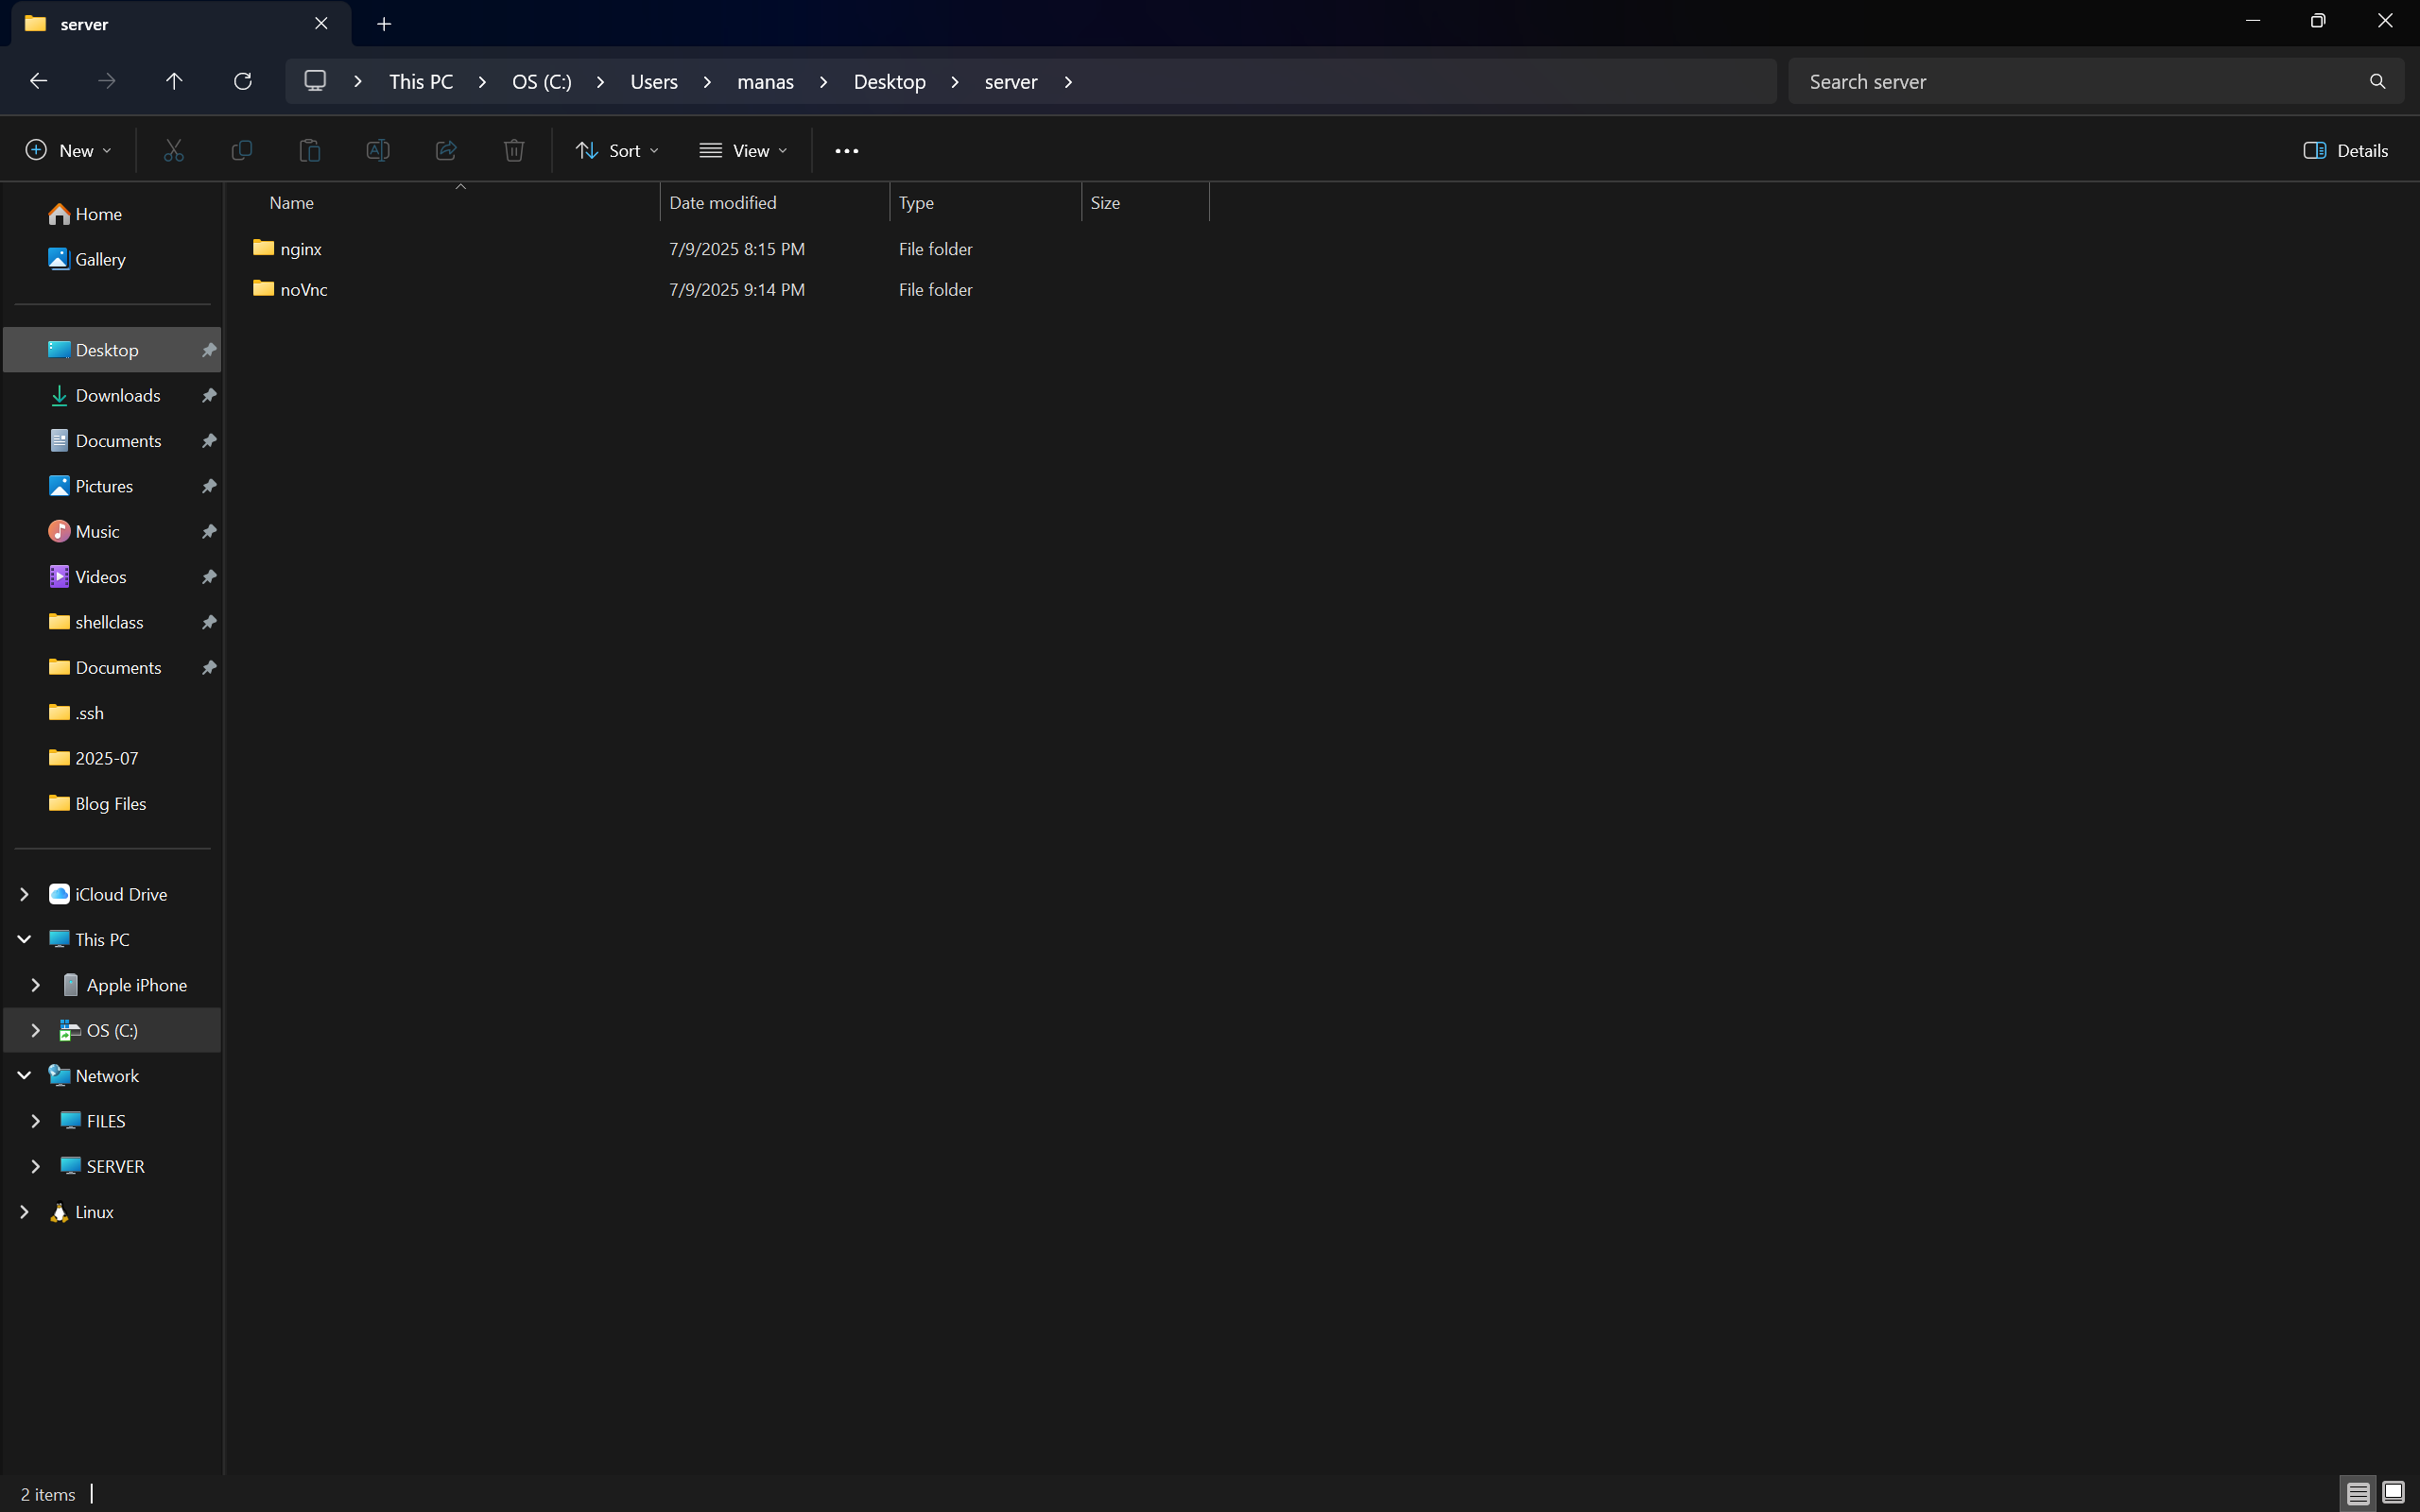
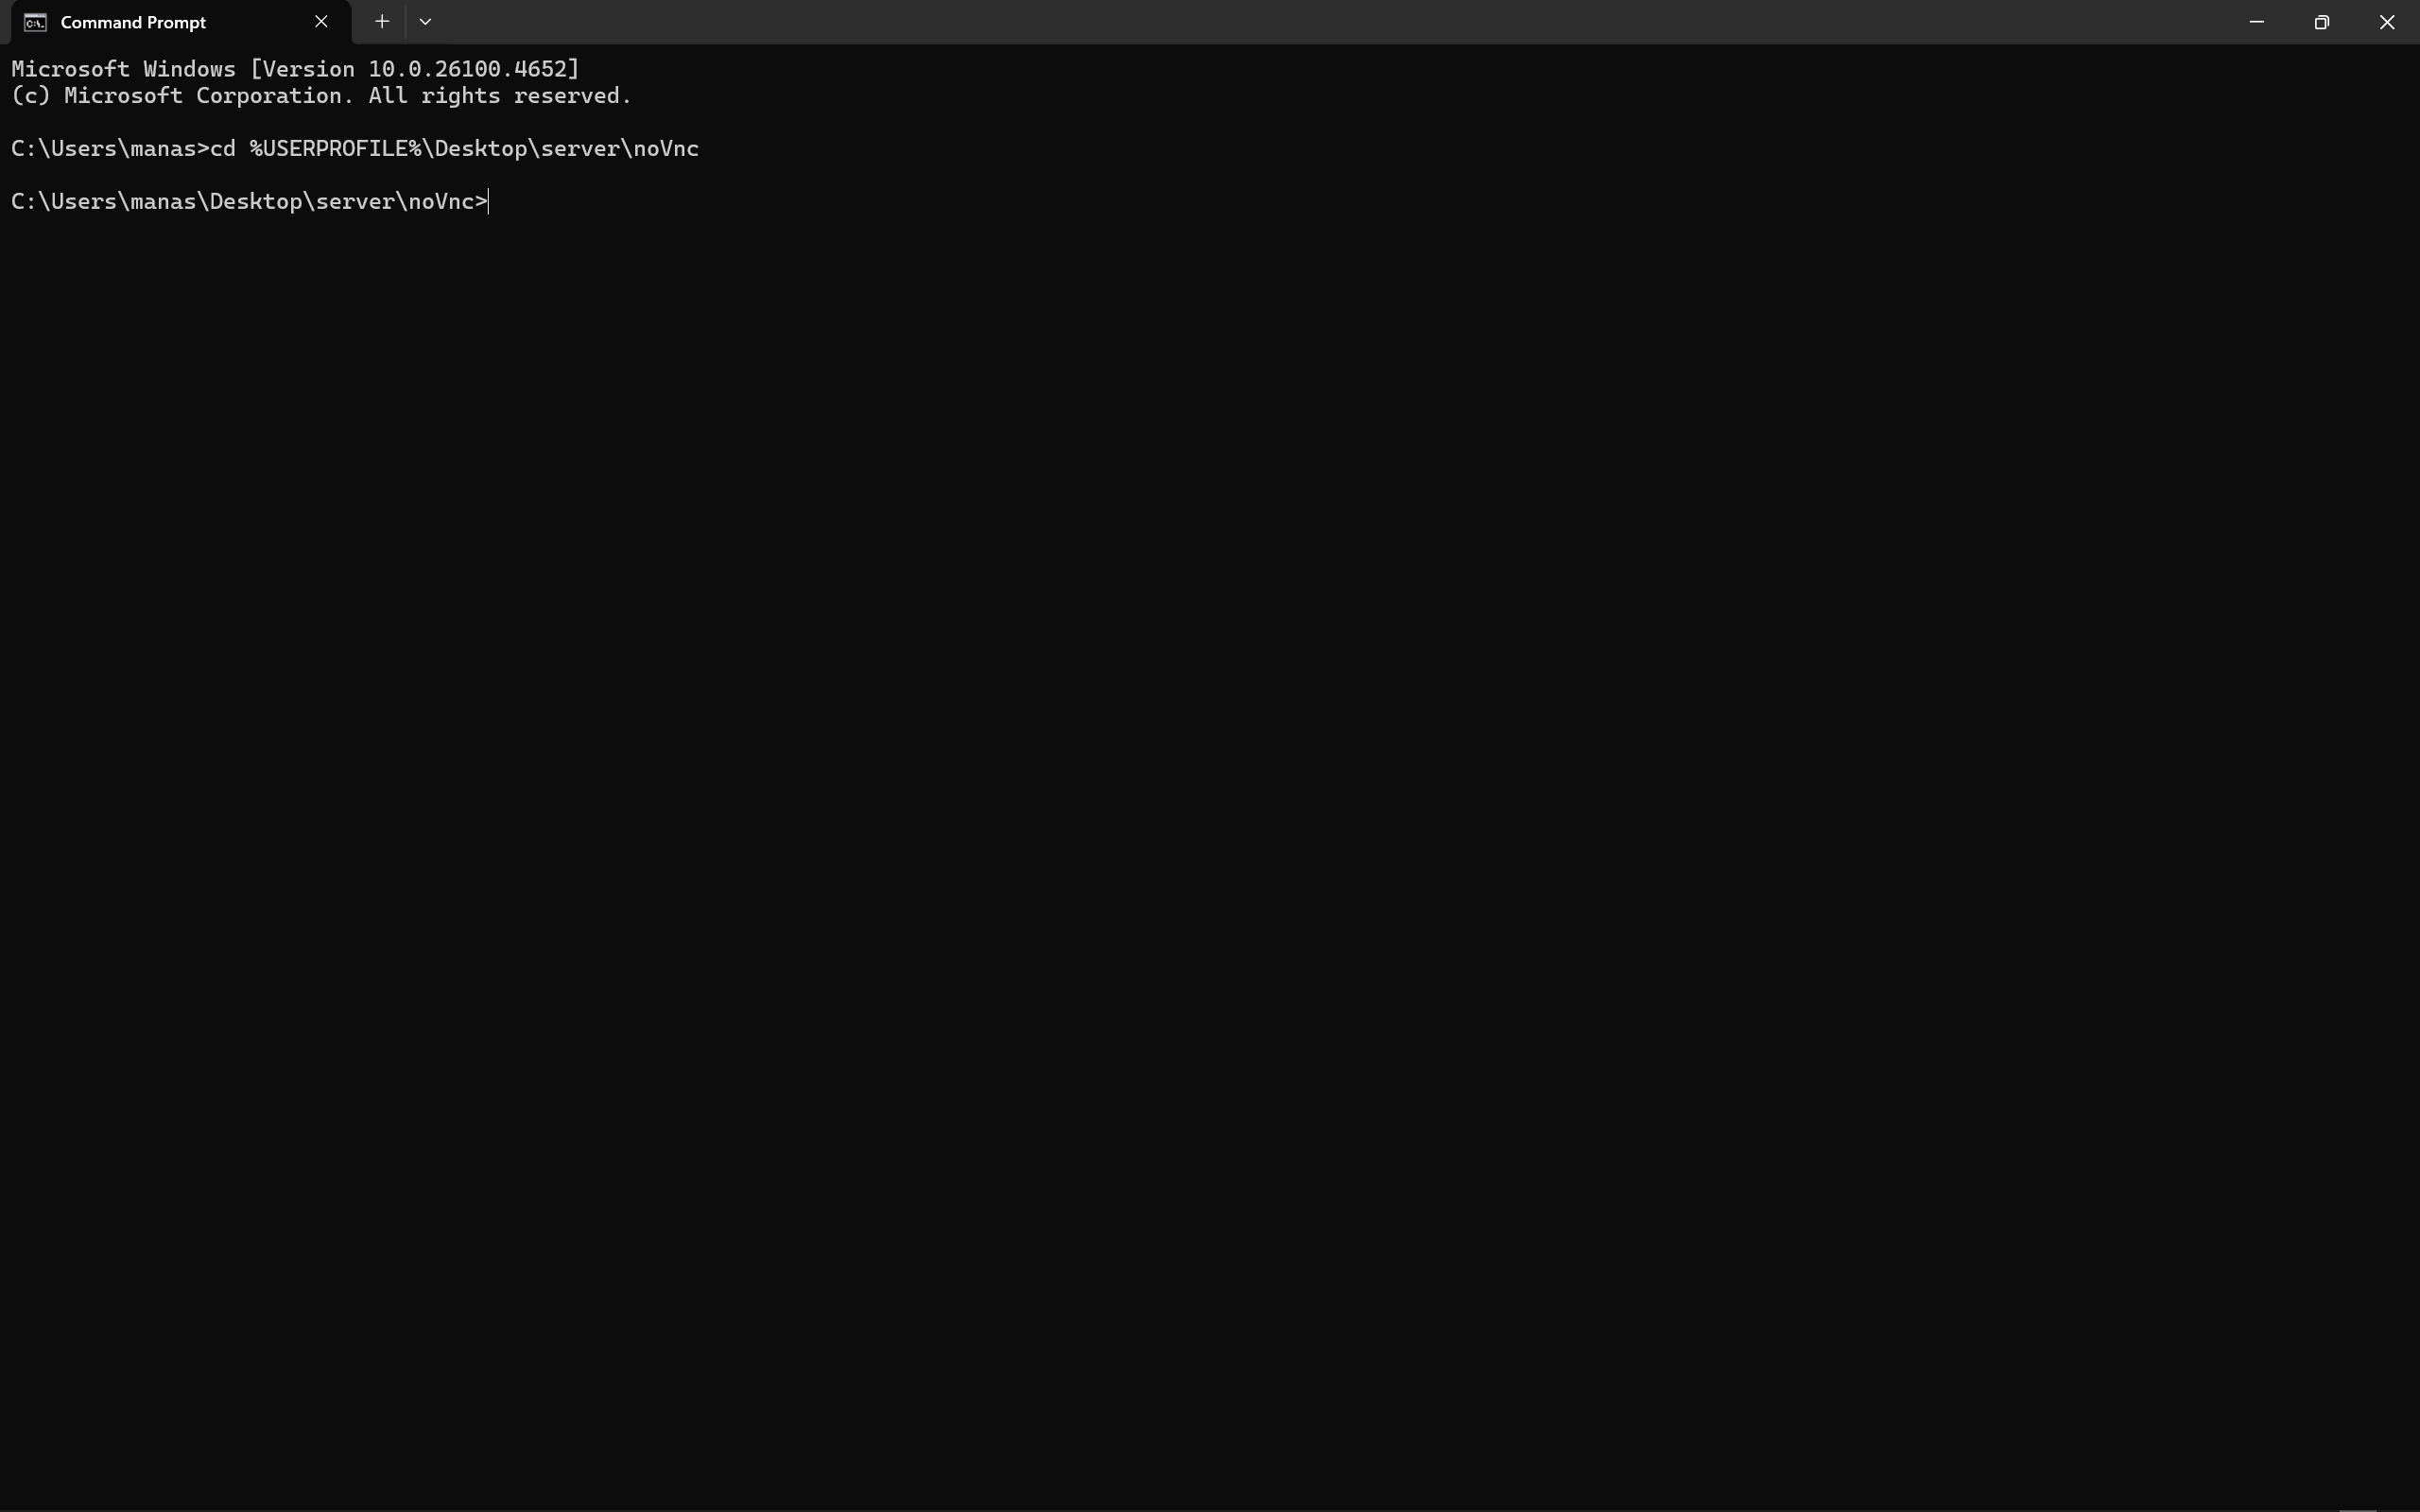
After creating the directory, we would use the Command Prompt to access it and install Websockify. You can copy and paste the commands below to install websockify.
cd %USERPROFILE%\Desktop\server\noVnc
npm install @maximegris/node-websockify
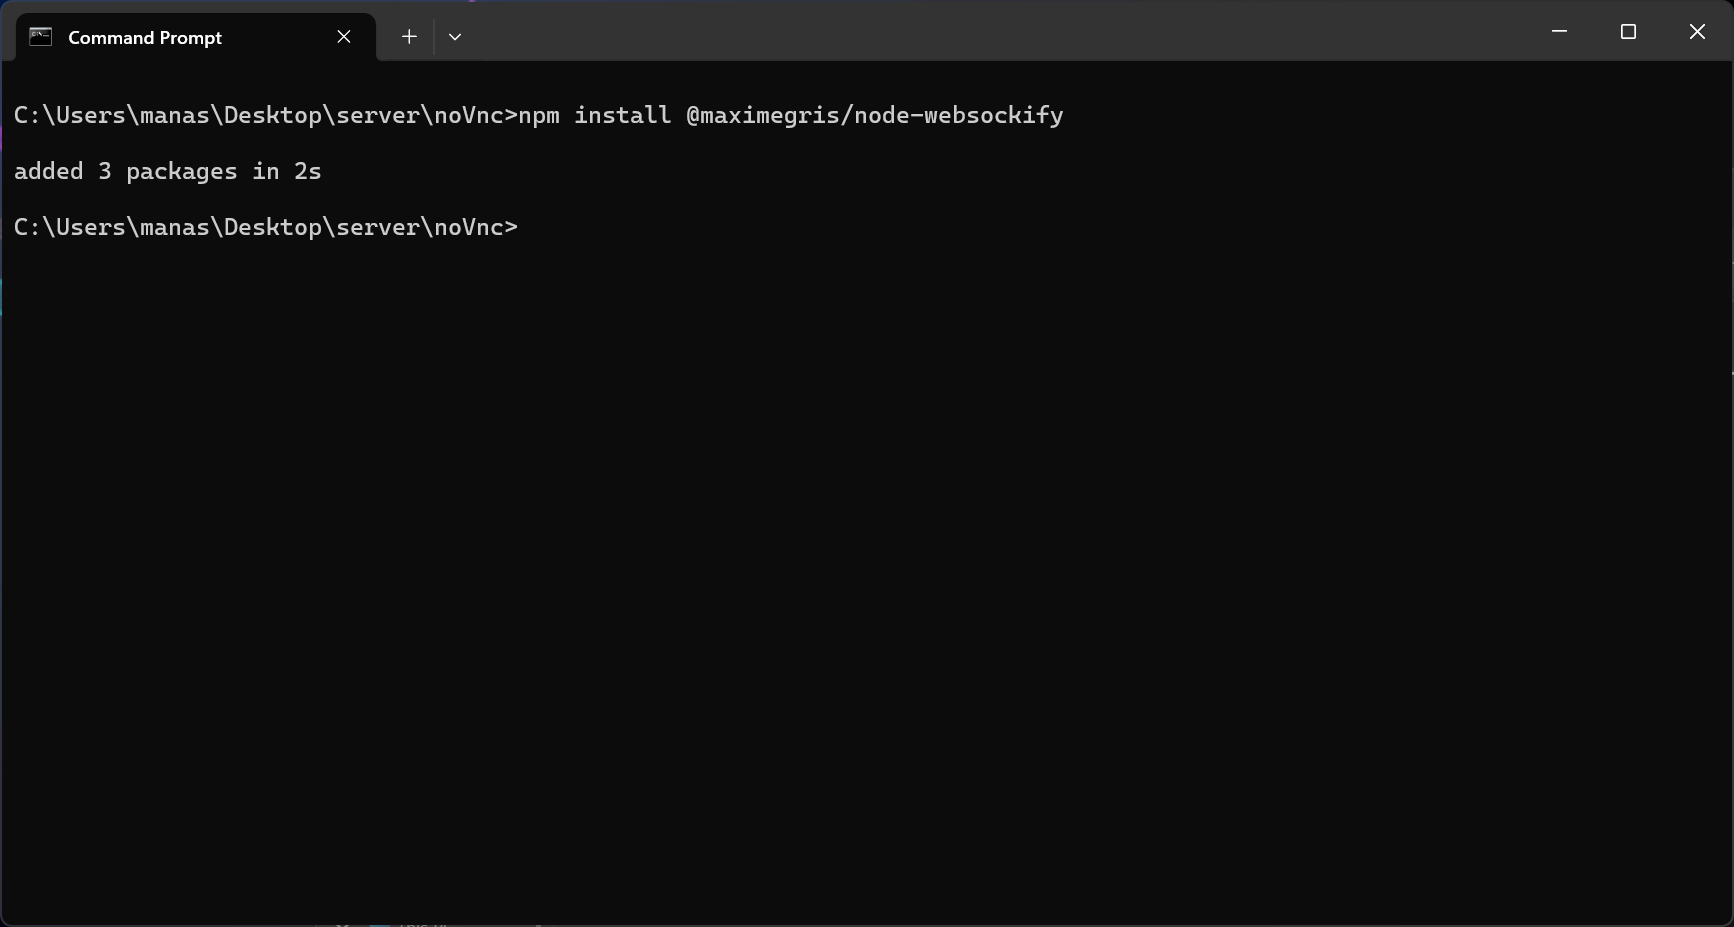
We've successfully installed Websockify.
Creating the Websockify Config
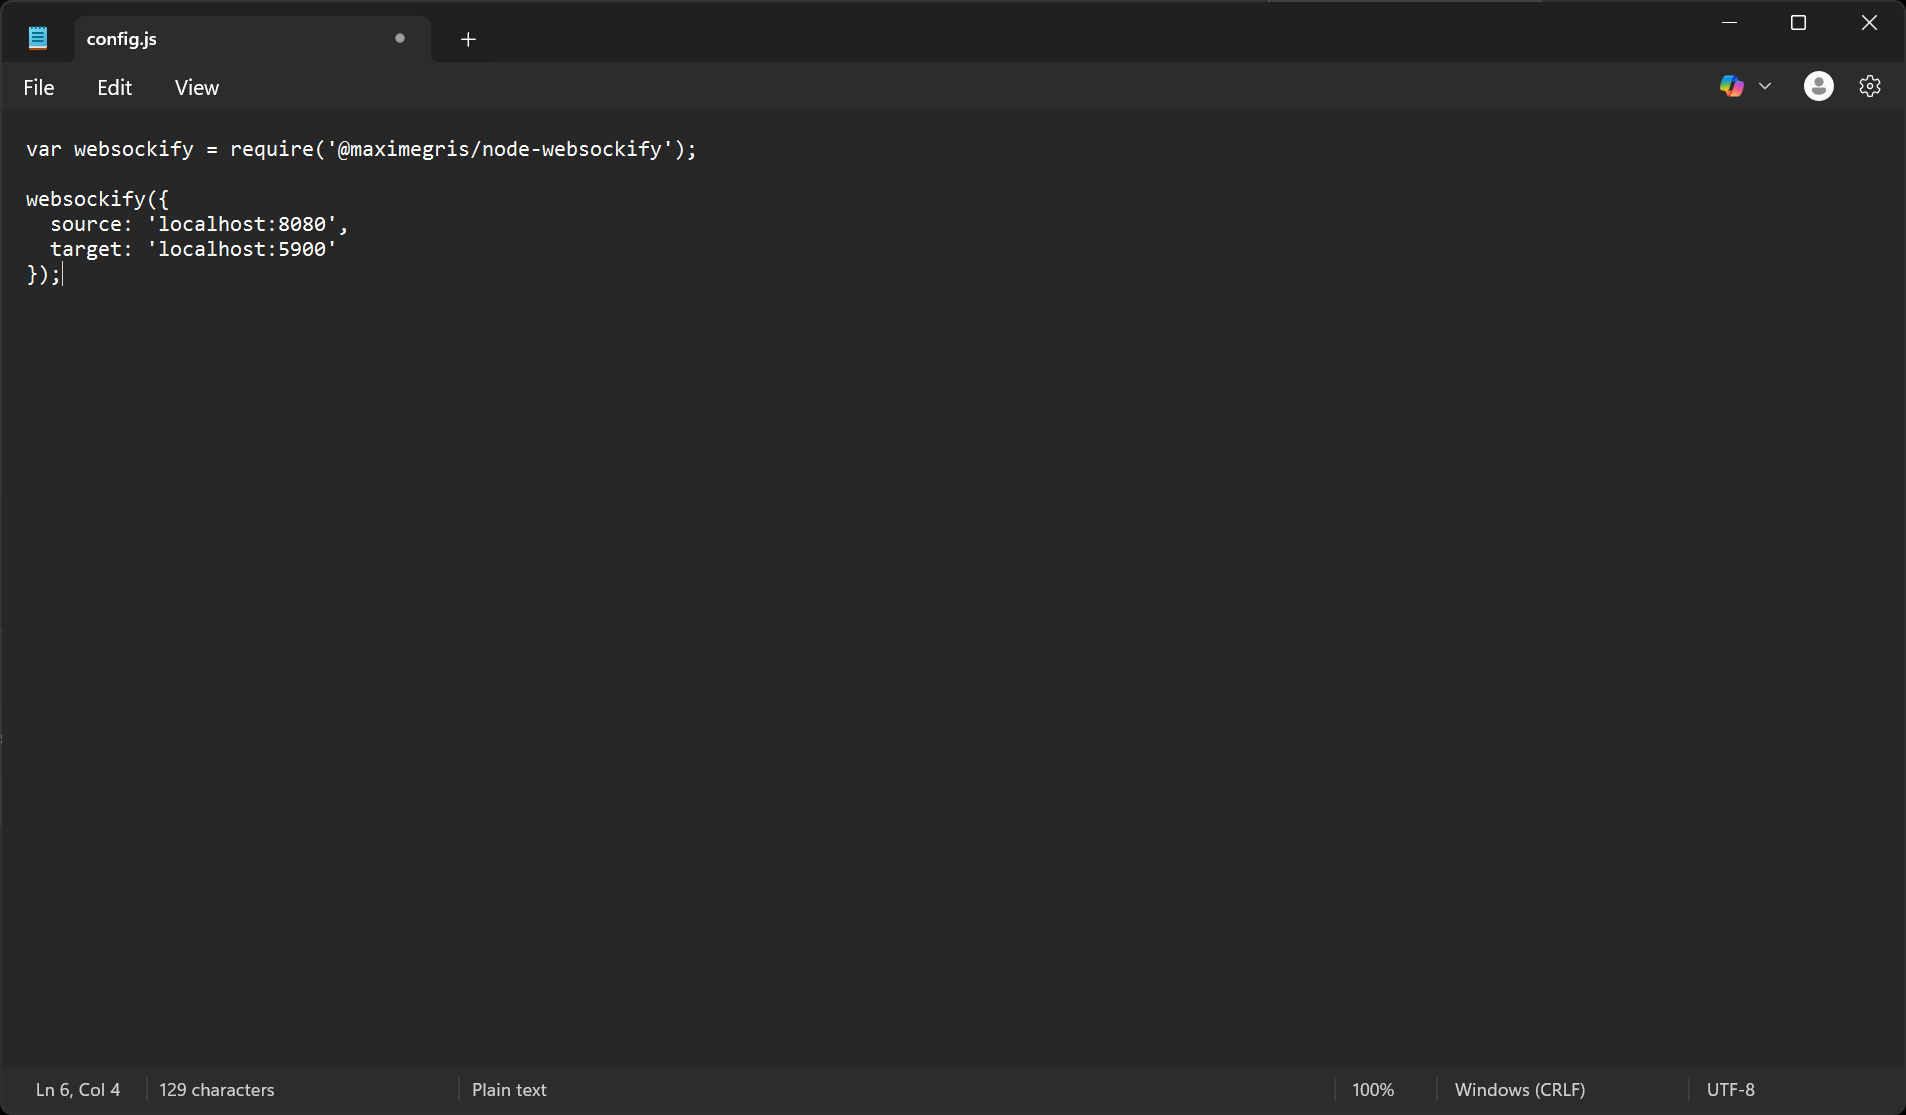
Inside the directory, %USERPROFILE%\Desktop\server\noVnc , Create a file named config.js.
Run the following commands to create the JS file from the command line and edit with Notepad.
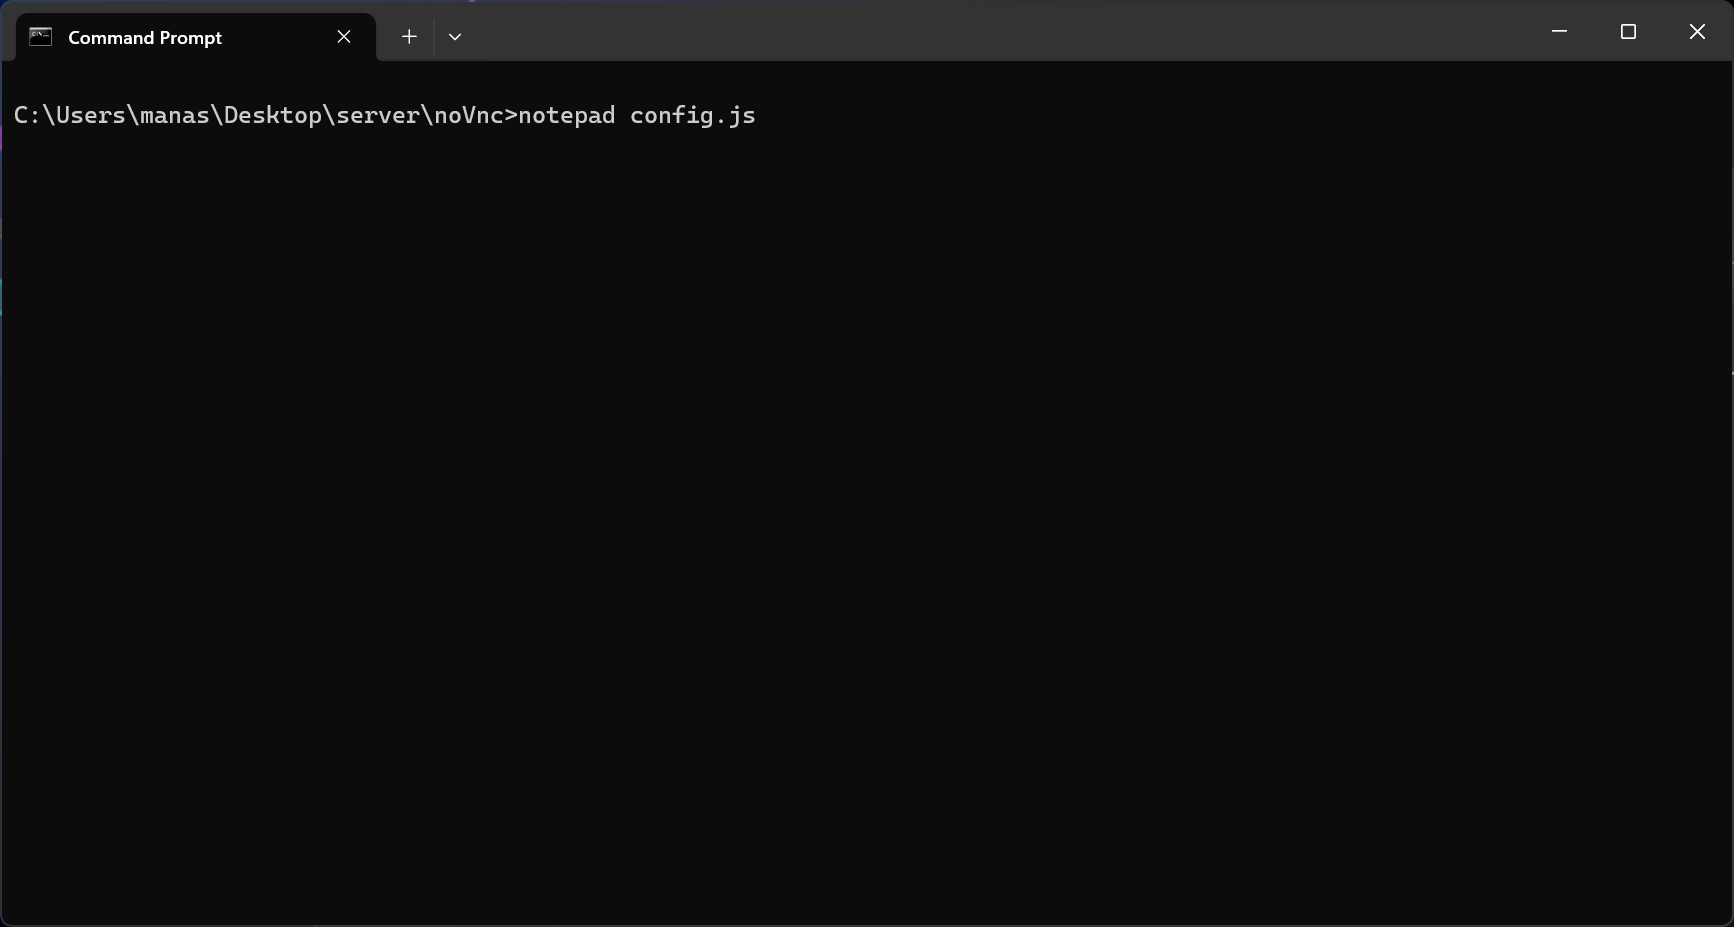
After running the above command, CMD will spawn Notepad for config.js, just paste the code below and save after:
var websockify = require('@maximegris/node-websockify');

websockify({
  source: 'localhost:8080',
  target: 'localhost:5900'
});5900is the default port used by VNC8080is where Websockify will serve the WebSocket proxy
Running noVNC with Node and Nginx
To start the proxy server, run node config.js in the %USERPROFILE%\Desktop\server\noVnc directory.
websockify.js to work correctly. So just rename config.js to websockify.js before running.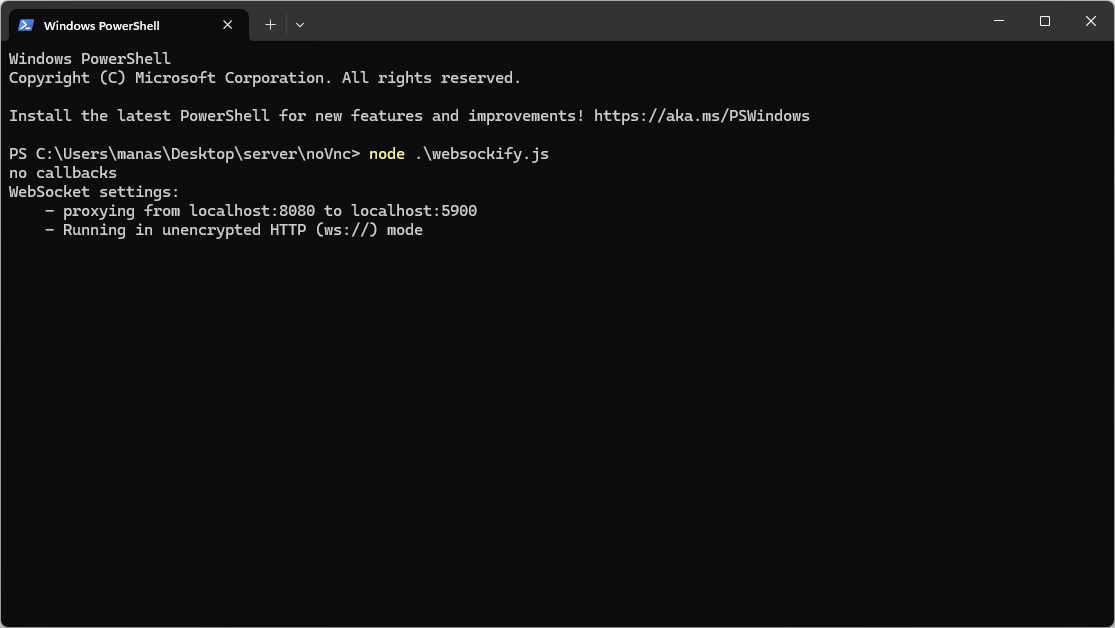
This will enable WebSocket communication between the web server and your local VNC server.
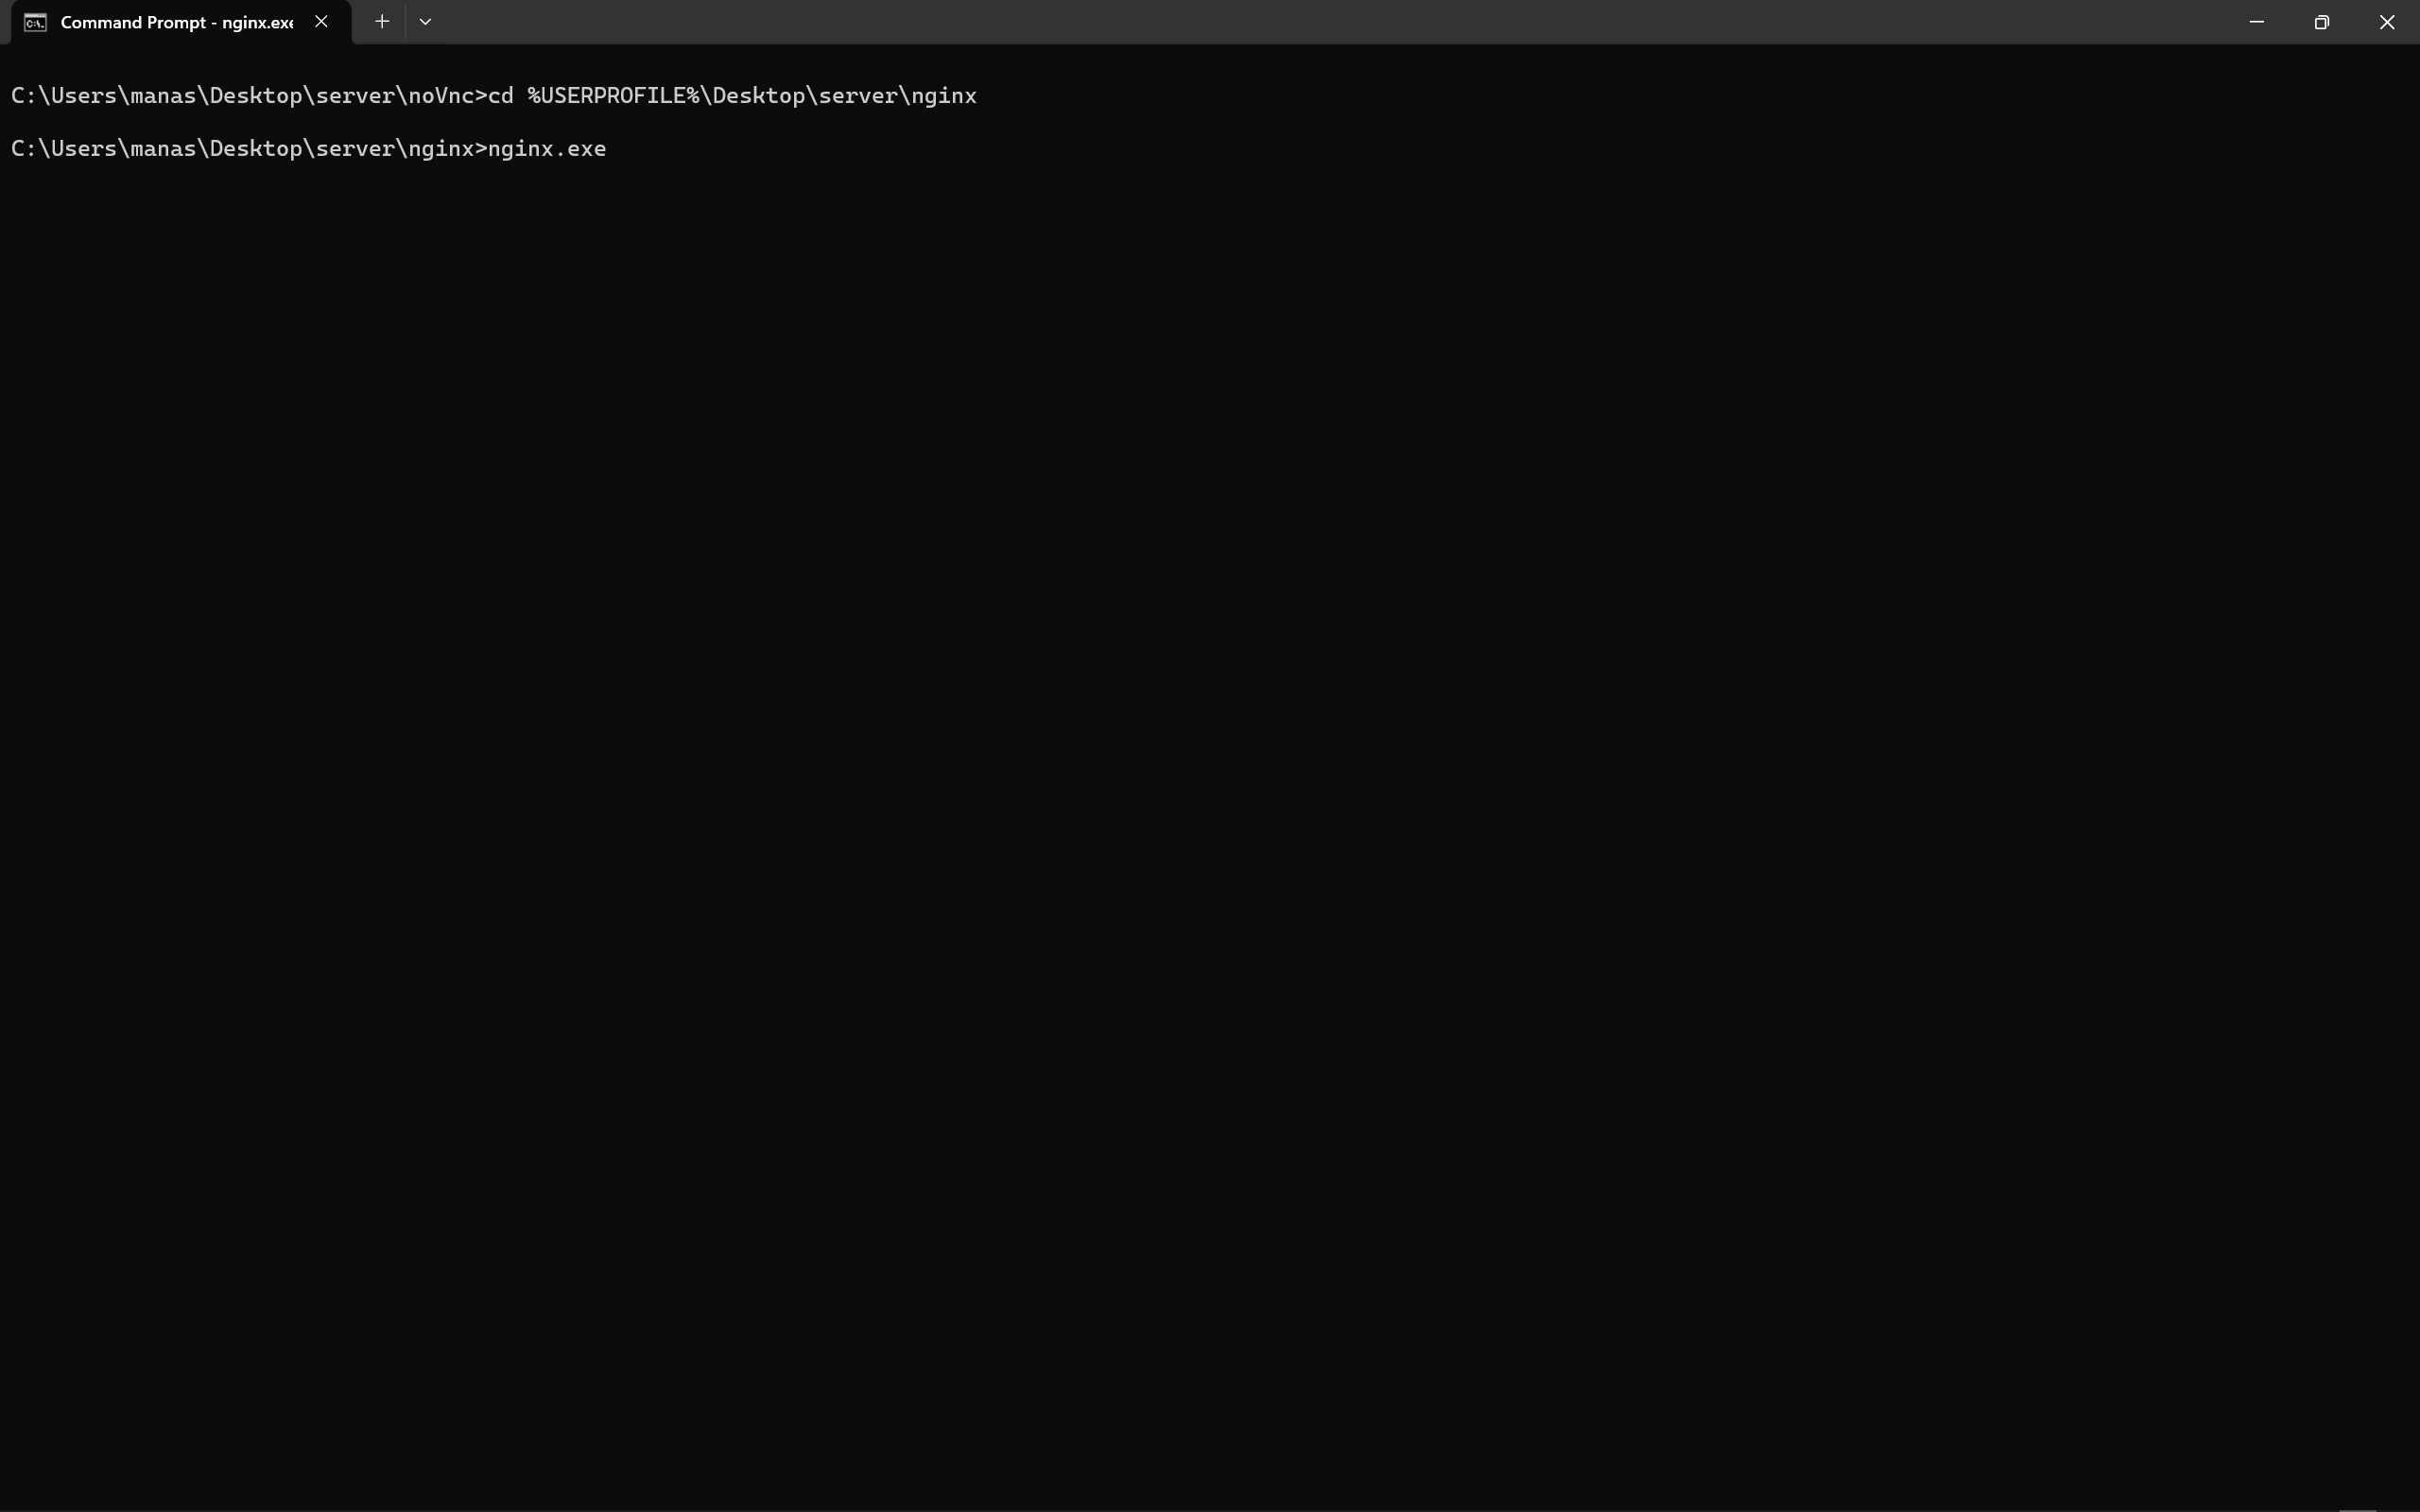
To also start Nginx, follow the commands in the screenshot below, make sure you run the command prompt as an administrator.
cd %USERPROFILE%\Desktop\server\nginx

nginx.exe
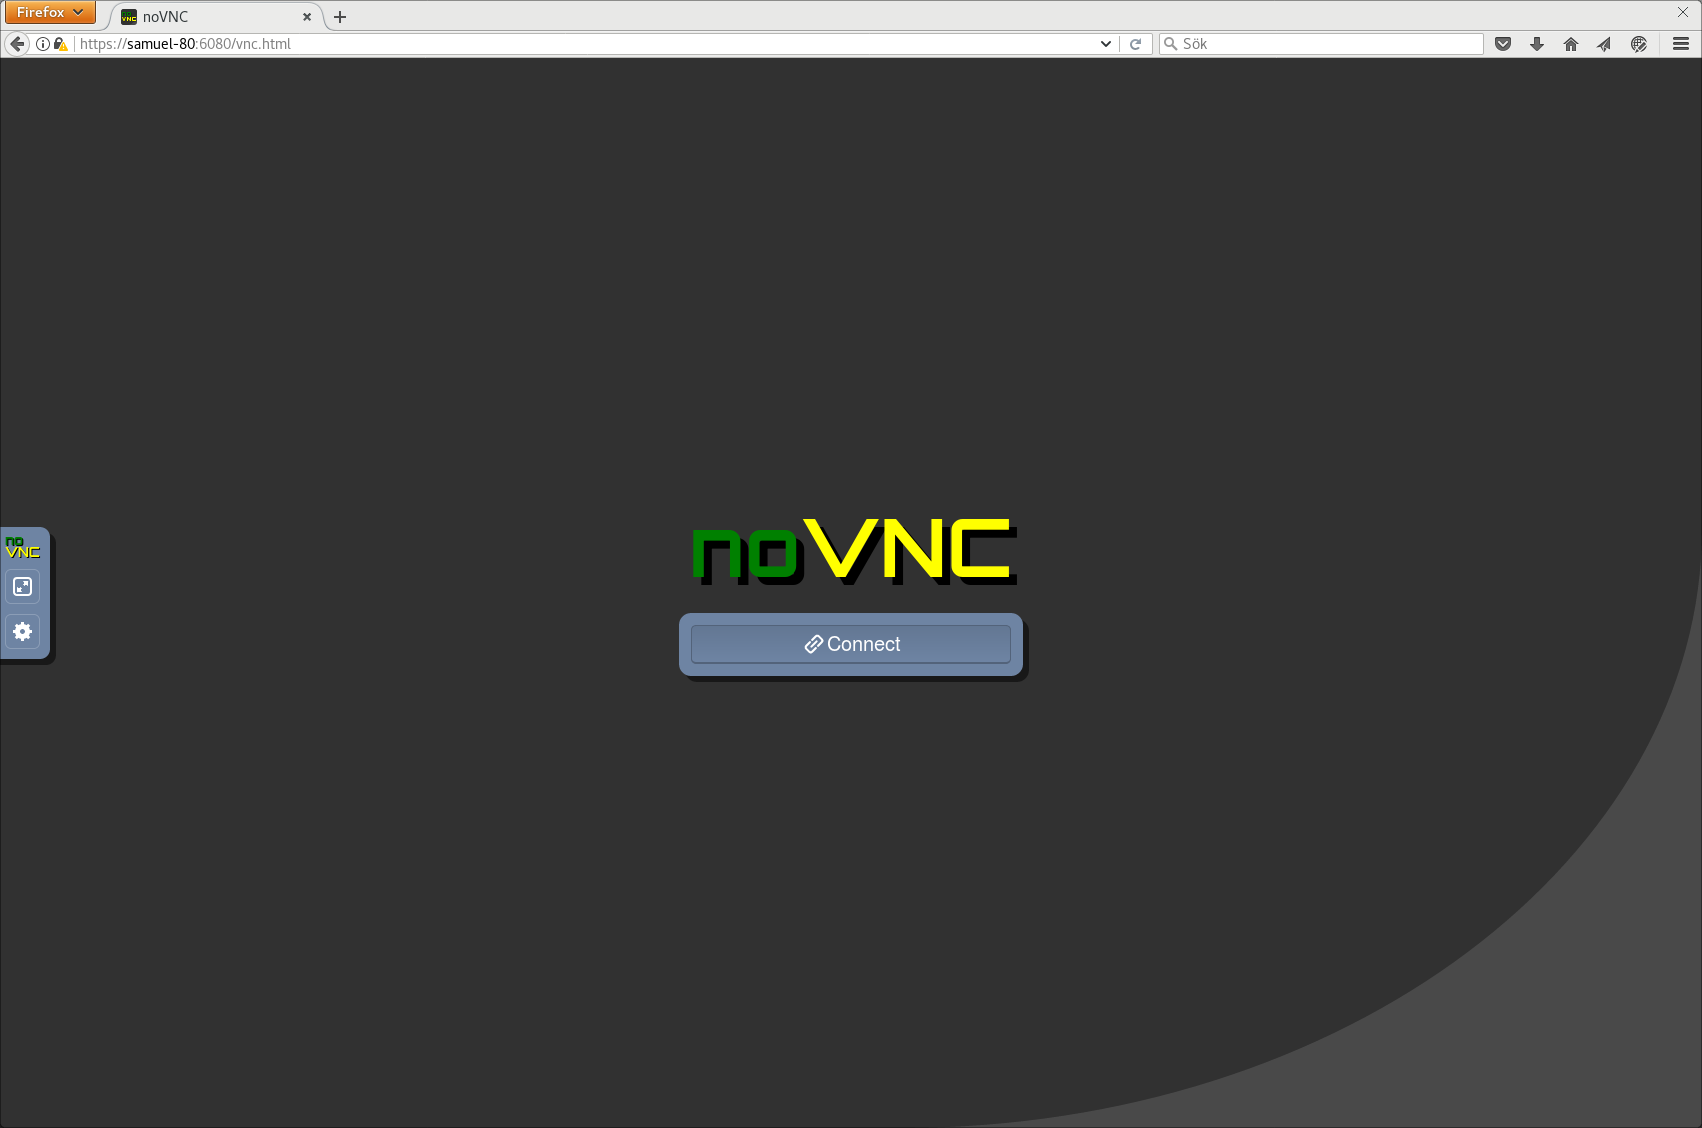
Final Showdown
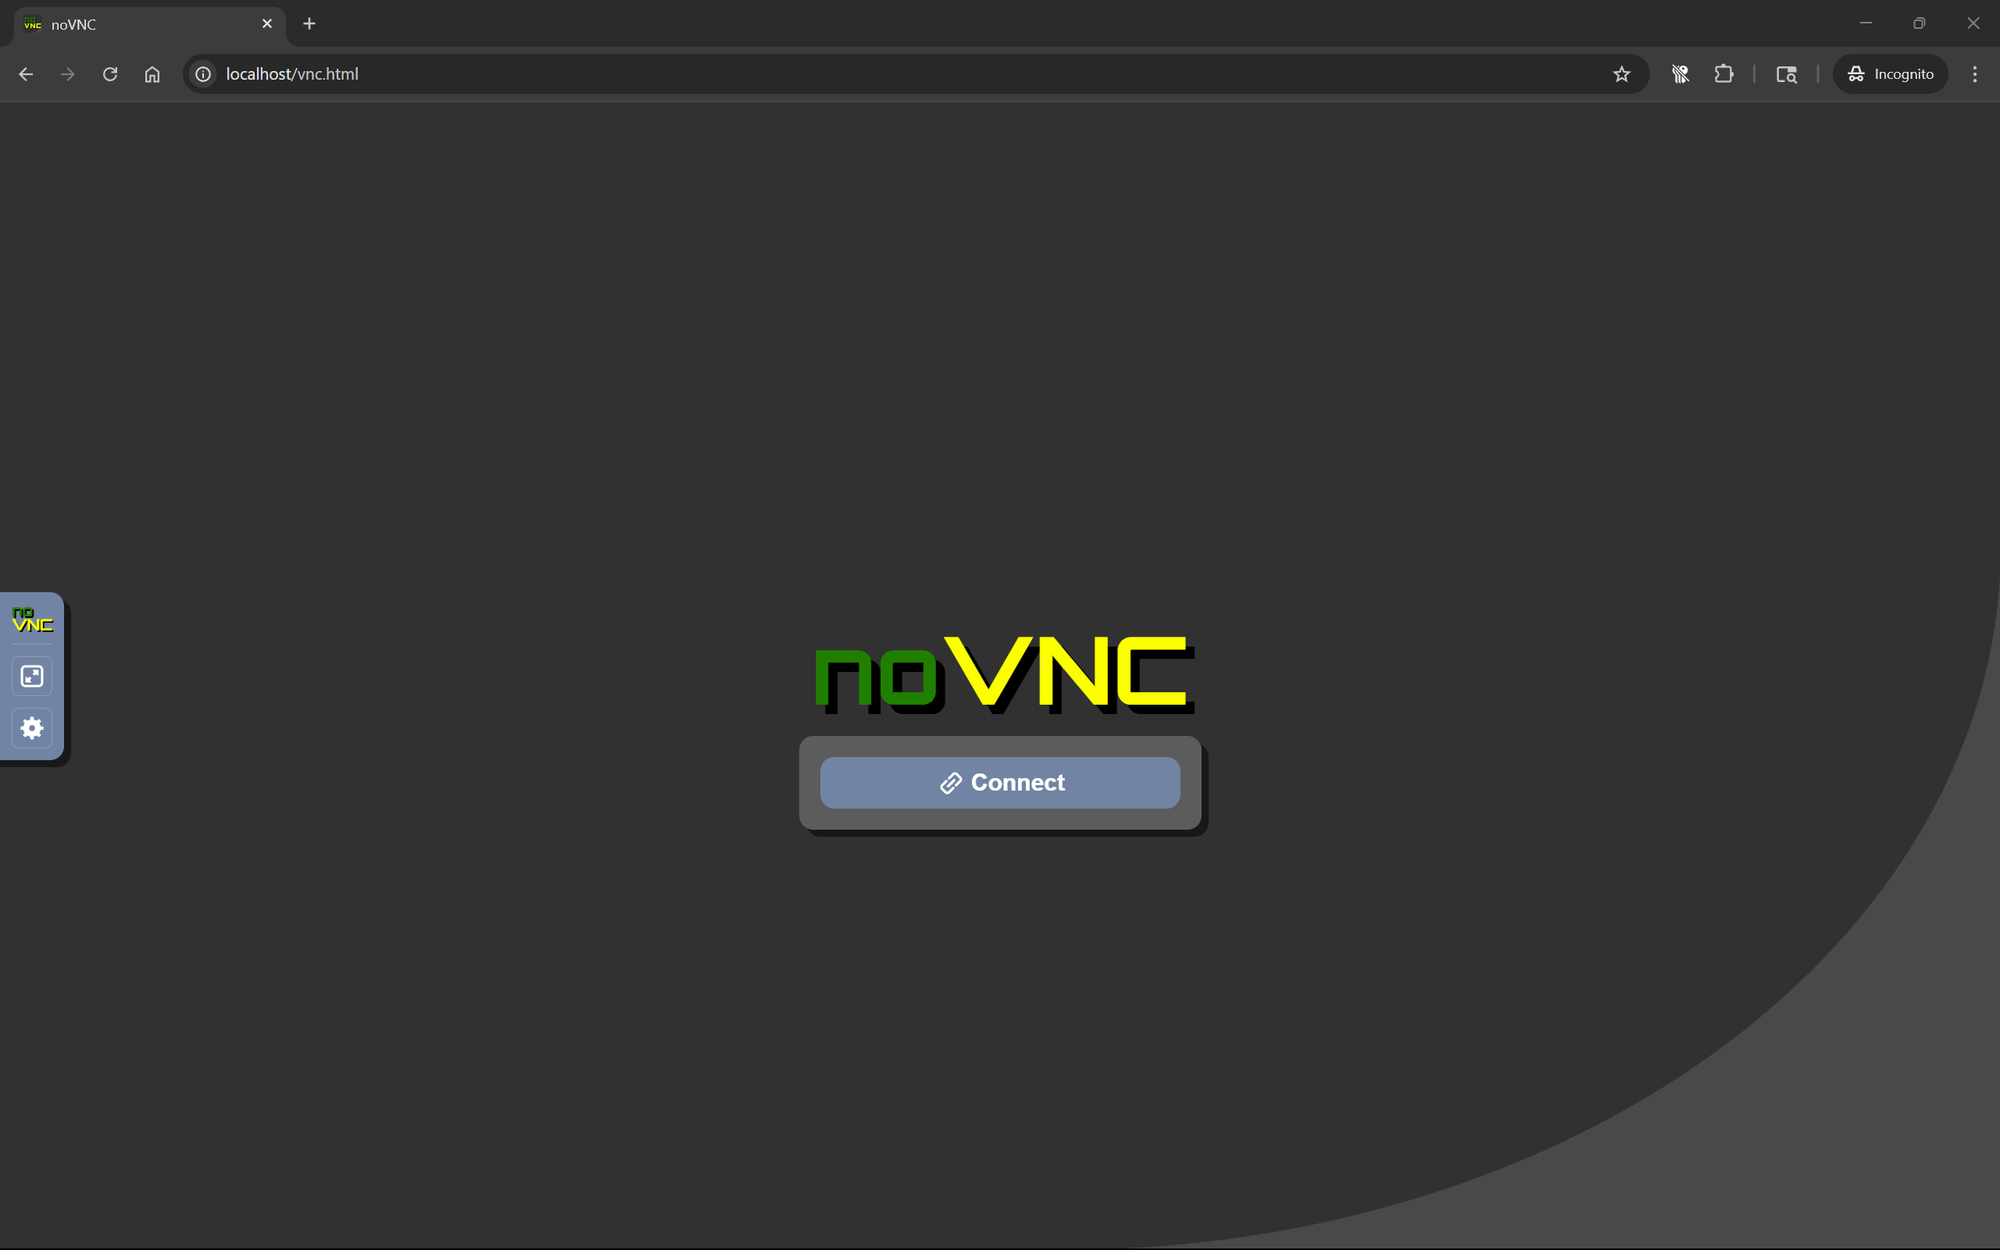
Here, we'll try to access our NoVNC server locally:
Open your browser of choice and navigate to localhost/vnc.html
Next, click the Settings icon on the left pane, then select Advanced, and then Websocket.
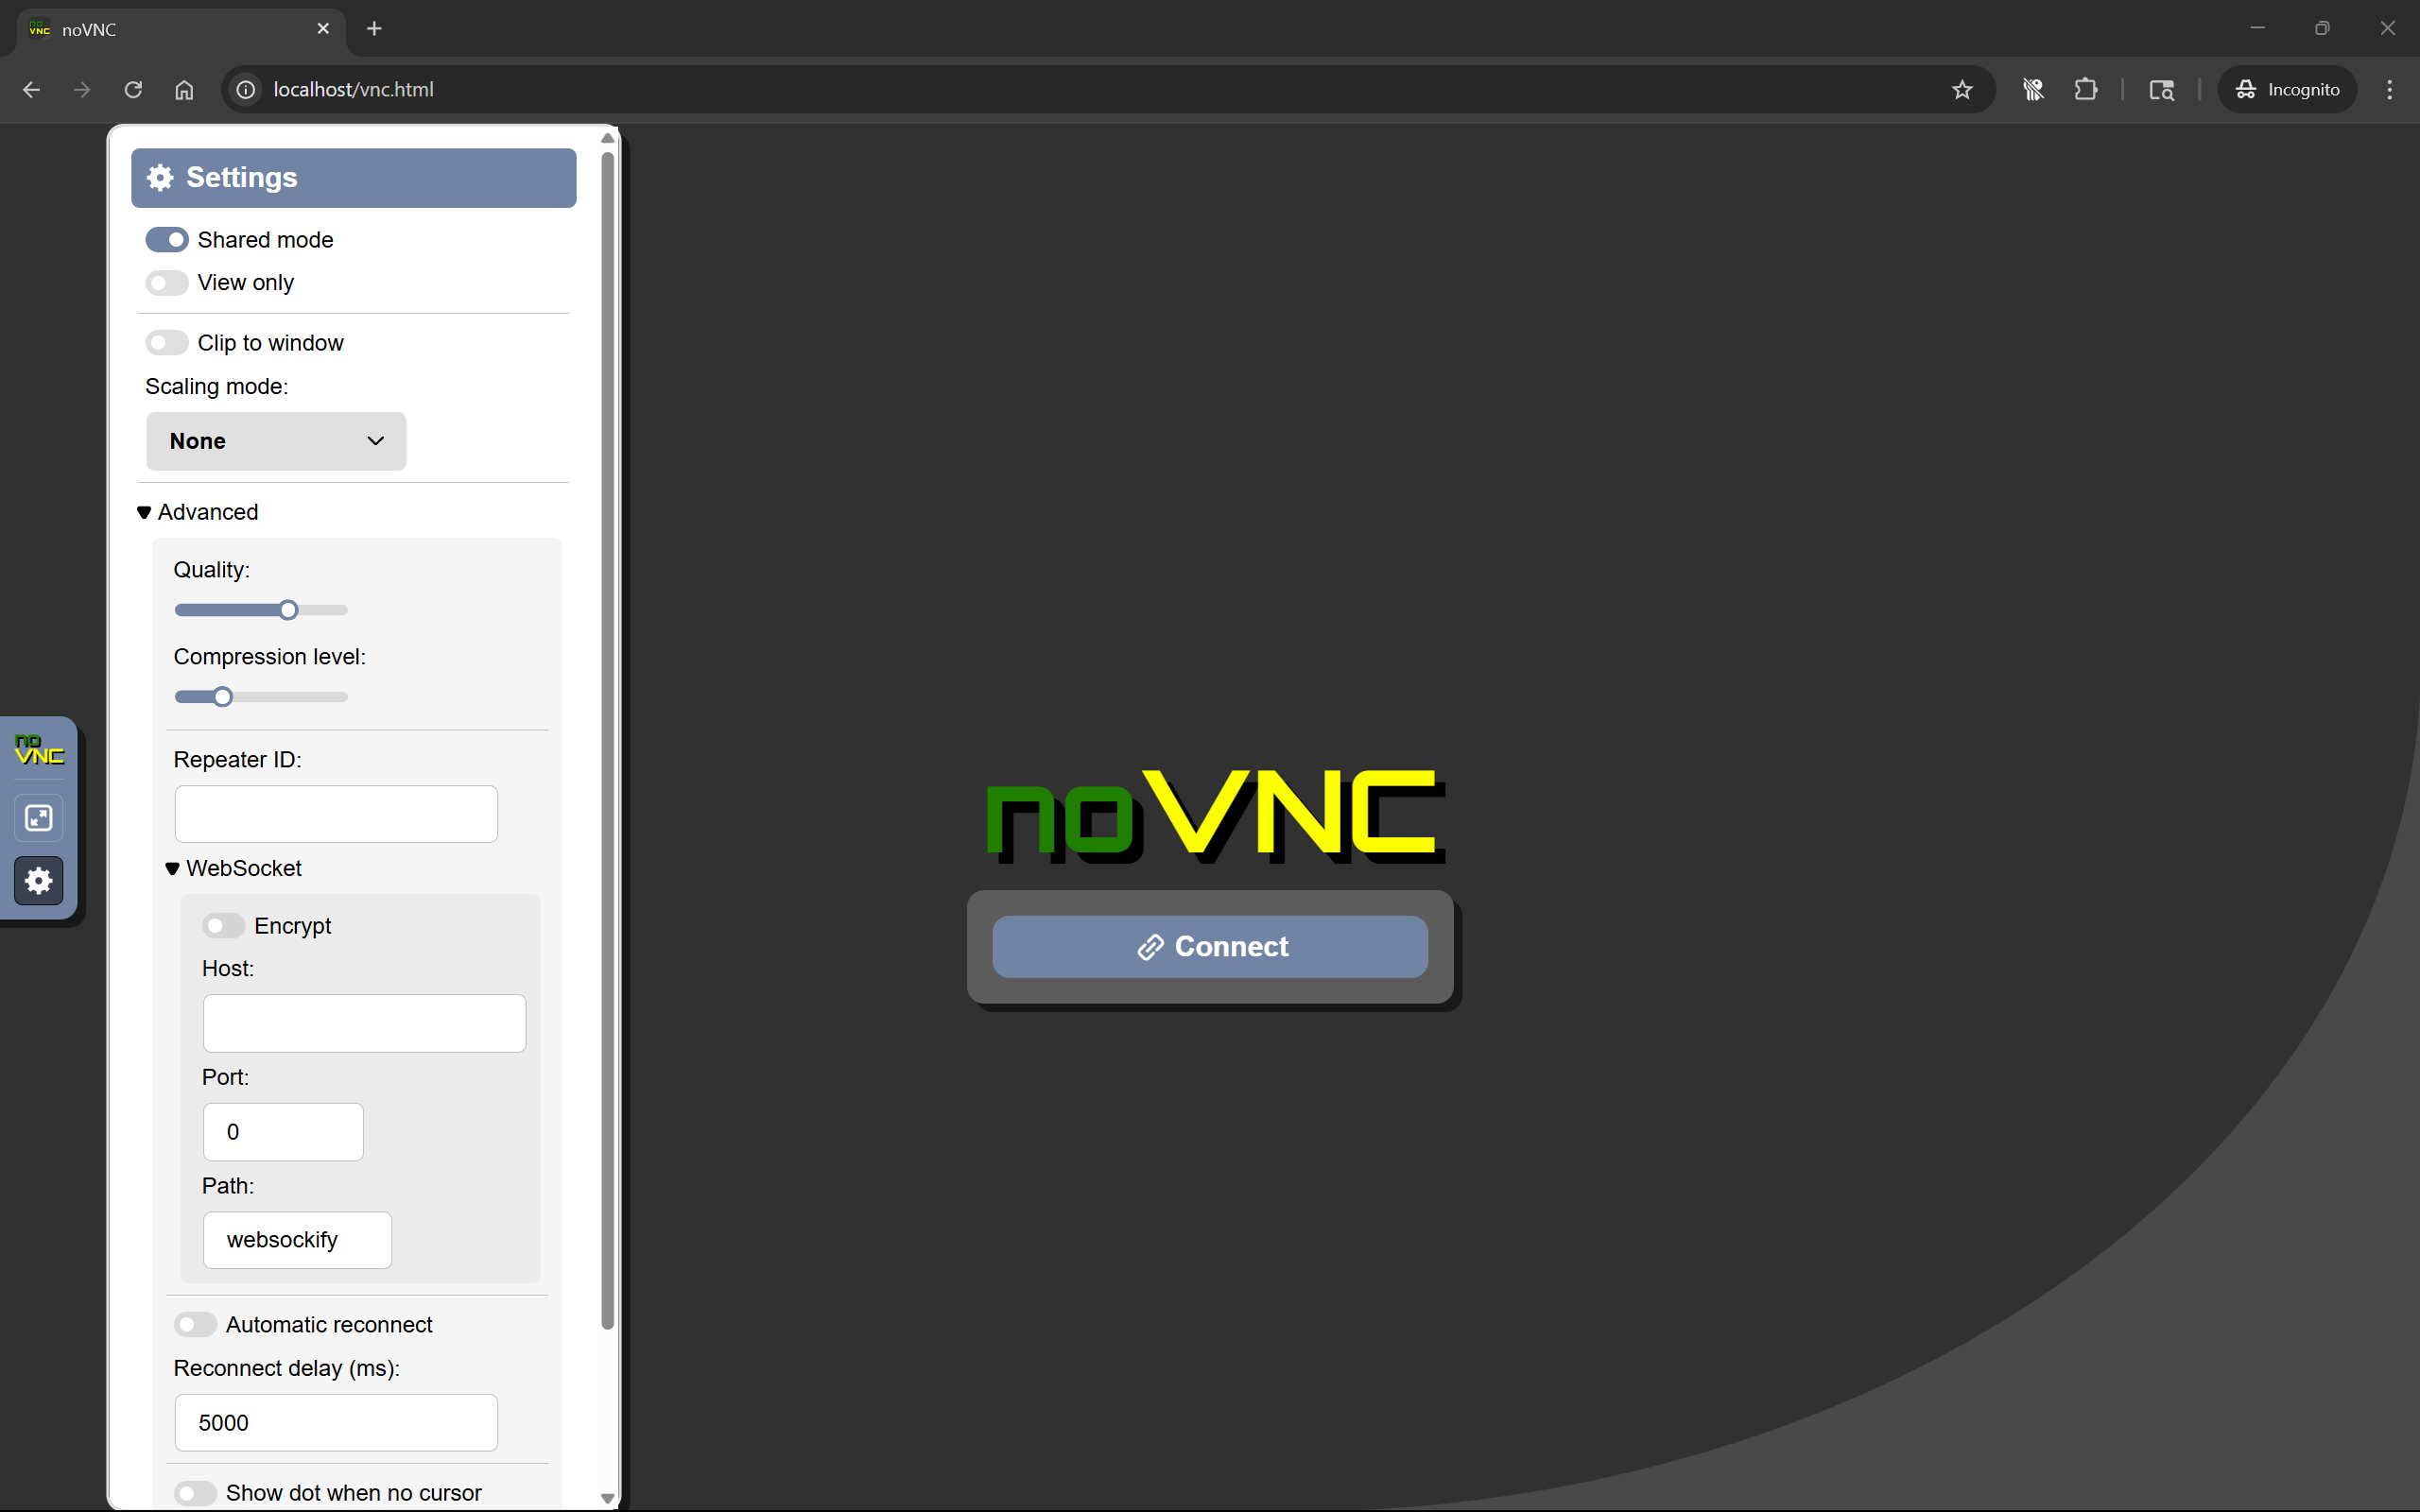
Enter the following values:
Host: localhost
Port: 8080
Path: tightvncserver
After entering the values, click the Connect button, it should bring you to the Credentials page. Enter the credentials you used when you installed TightVNC.
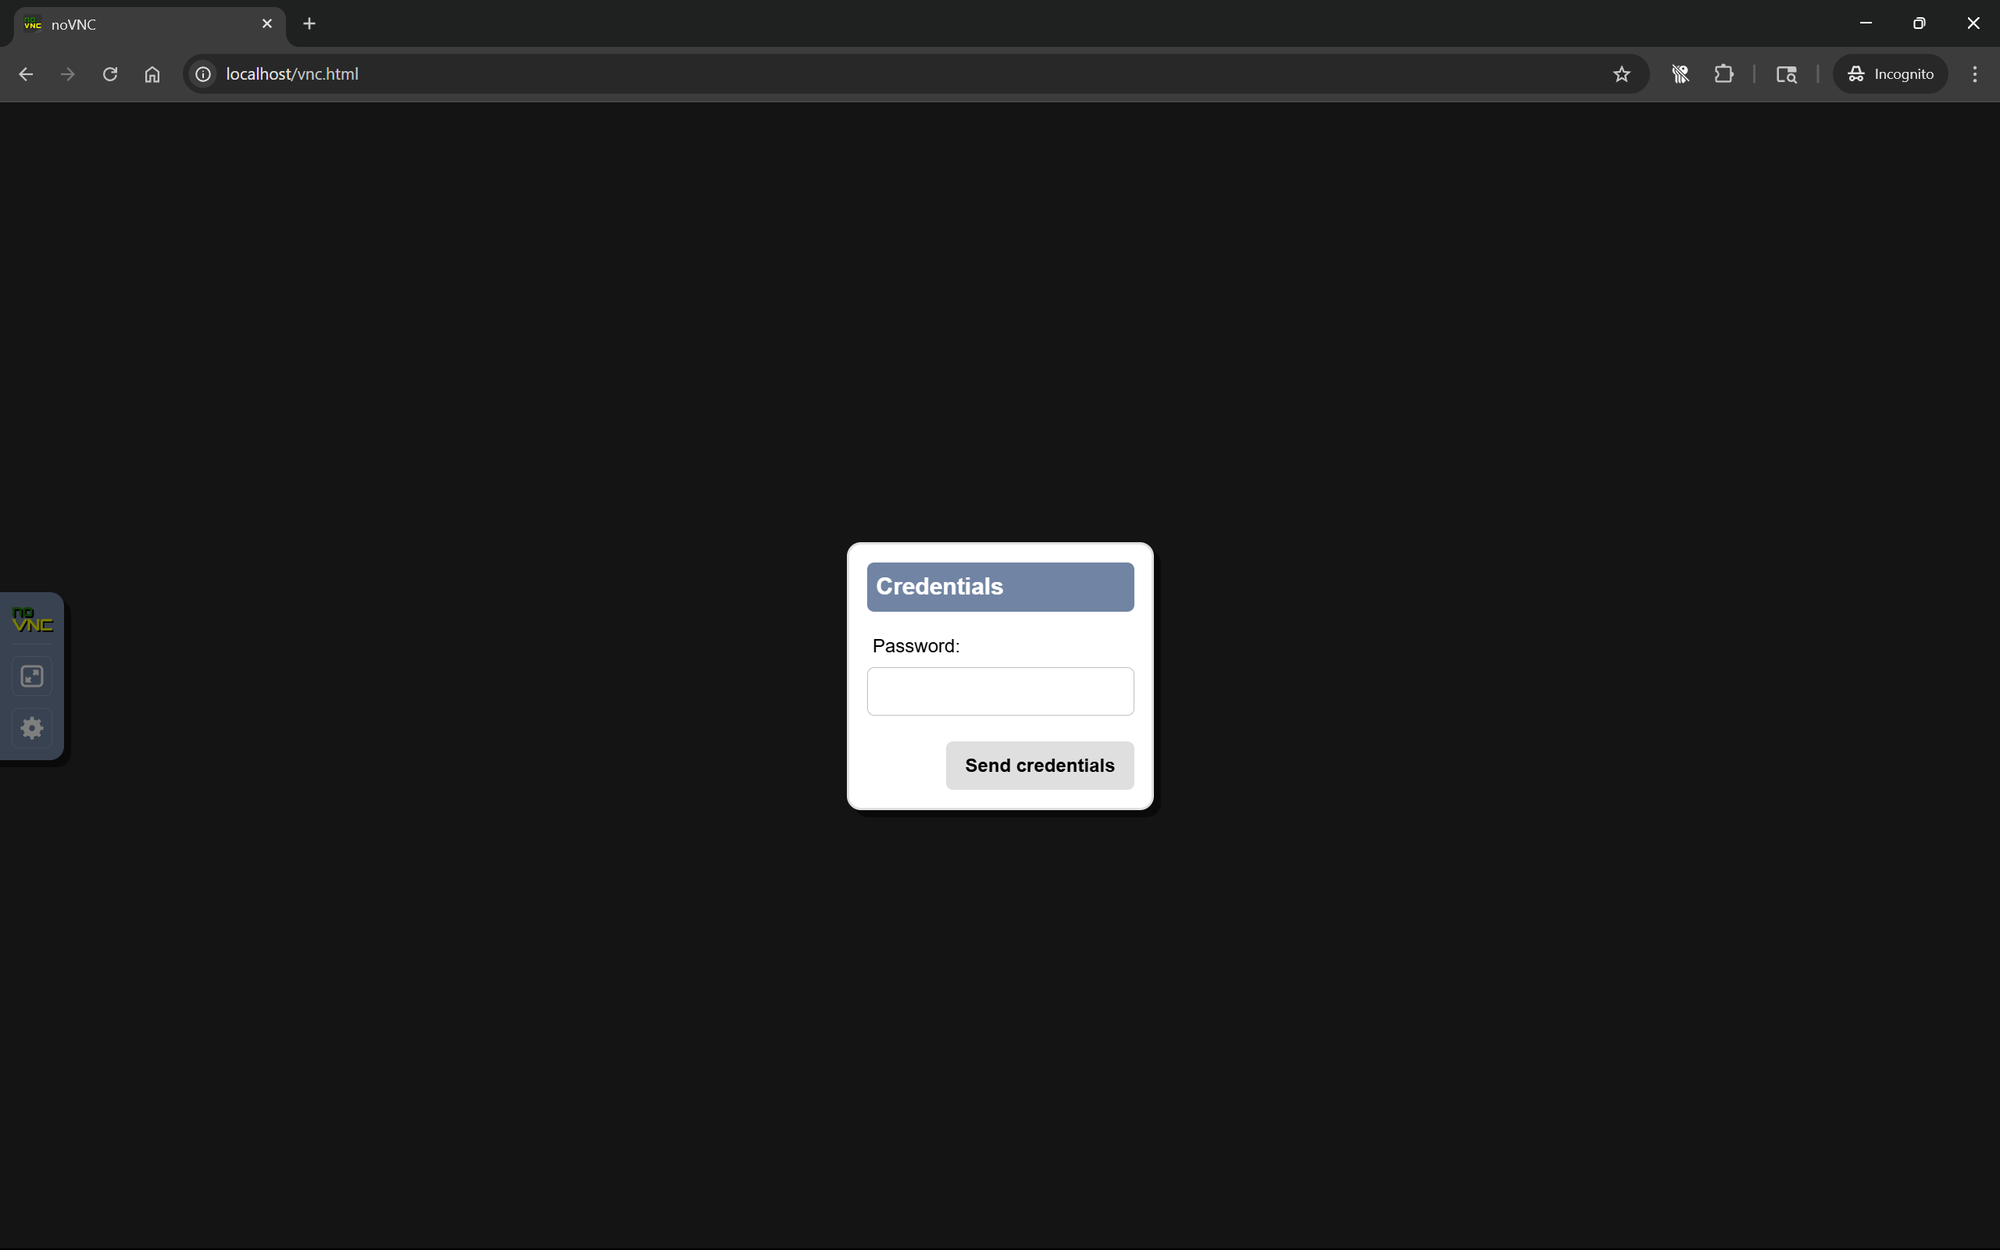
After this, you should have access to your Windows machine in your browser.
This is a Proof of Concept. I wouldn't recommend accessing your NoVNC server on the workstation it is installed on.
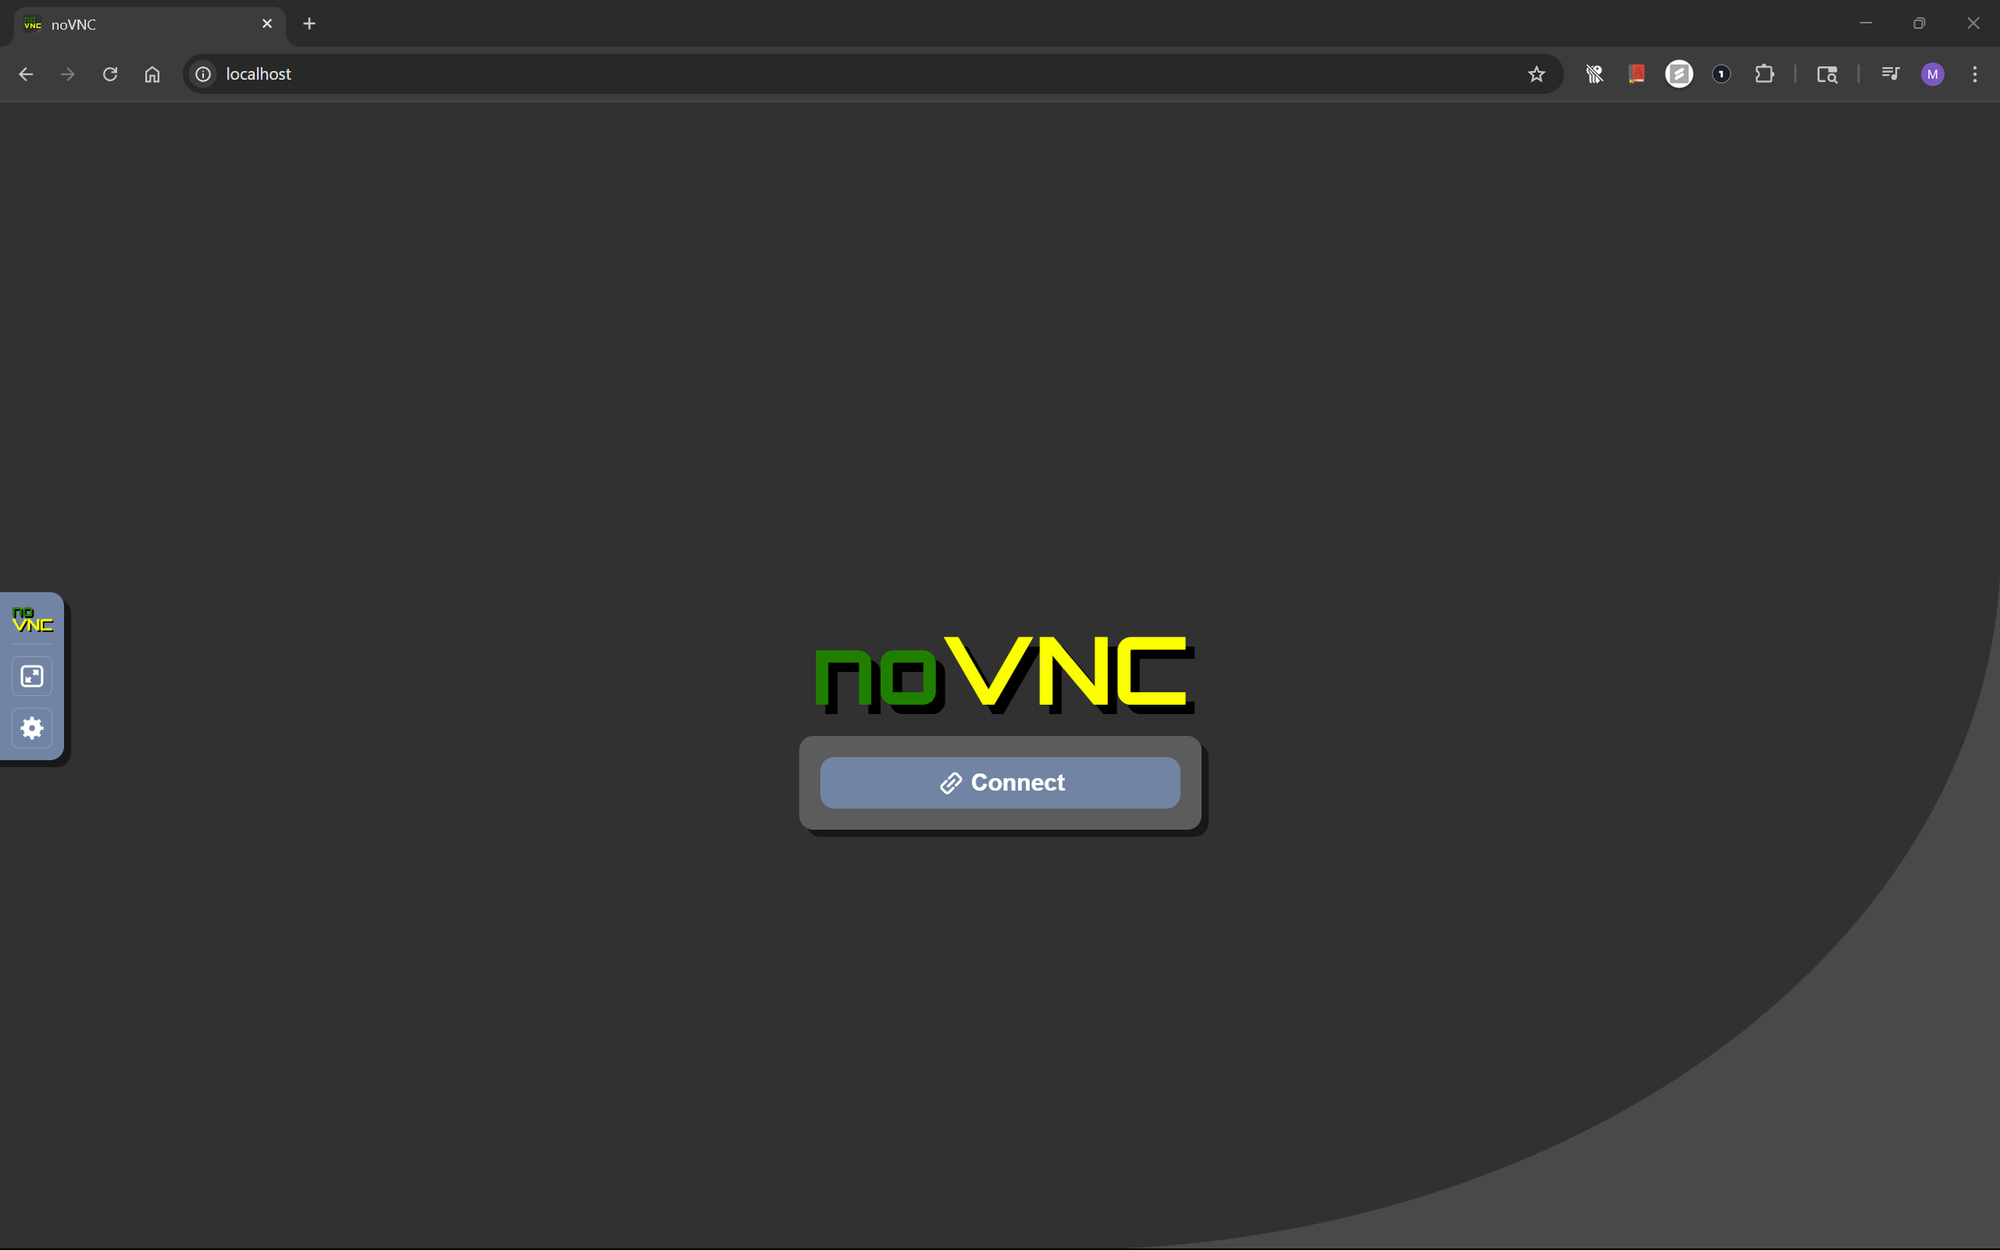
Change Default Landing Page
To make accessing the noVNC server easier, change the vnc.html file in the nginx folder to index.html, that way, accessing localhost in your browser defaults to the noVNC home page.

After renaming:
Automating Startup with Task Scheduler
To launch both noVNC and nginx at system boot, create two .bat files and schedule them using Task Scheduler.
vnc.bat:
 cd %USERPROFILE%\Desktop\server\noVnc
node config.js
nginx.bat:
cd  %USERPROFILE%\Desktop\server\nginx
start nginx
Add these scripts to Task Scheduler with appropriate triggers (e.g., at logon or system startup).
You're Done!
Thanks for reading this blog post, you can contact me on Social Media if you have any questions.